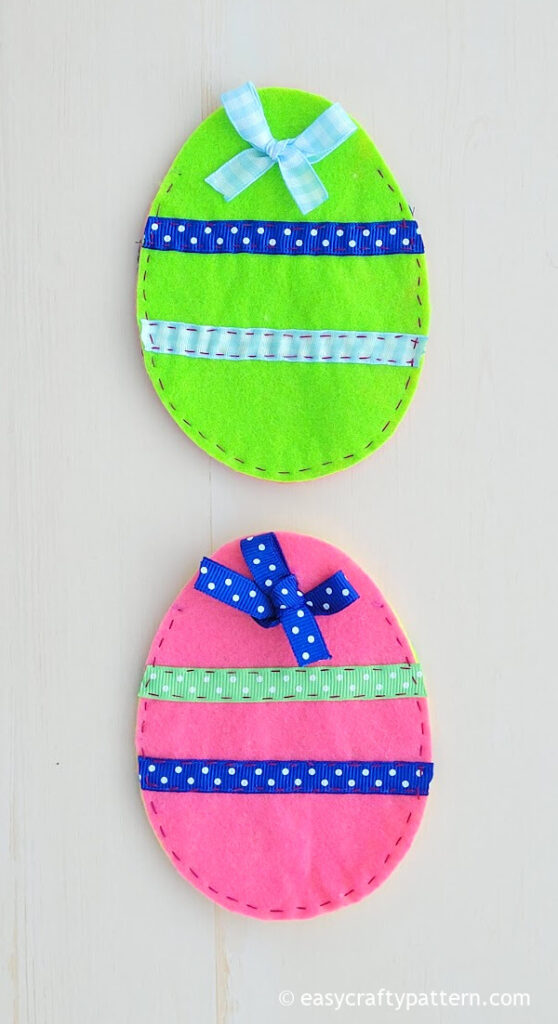
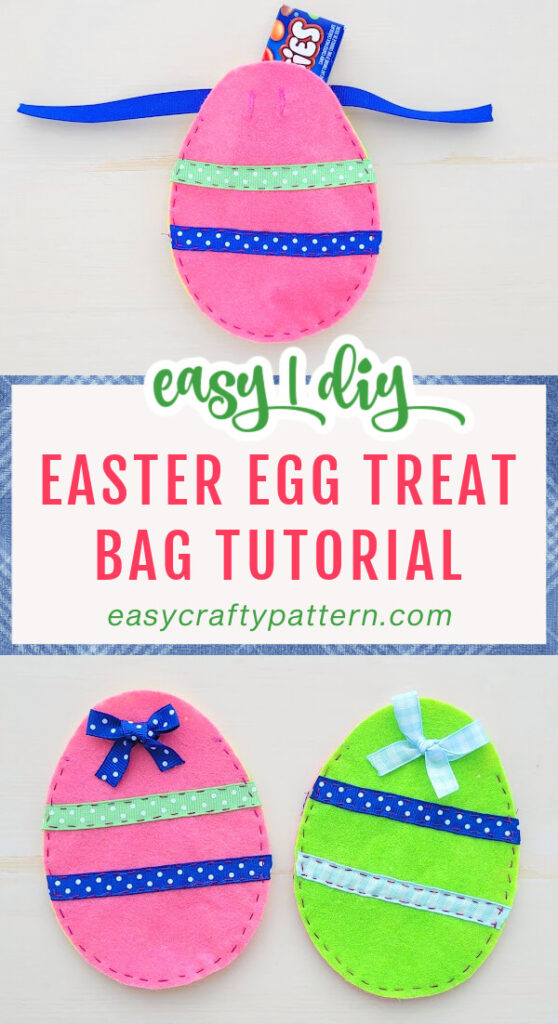
Felt Easter Egg Treat Bag
Use this fillable treat bag pattern and tutorial to make an easy and adorable felt Easter egg treat bag. Gift-giving Easter treats will be much easier.
DIY Easter Egg Treat Pouch From Felt
The felt Easter egg treat holder makes preparing fun Easter gifts a breeze. Use tacky glue or straight stitch around the edge.

Pair it with the Easter bunny mason jar for a larger treat holder. The painted mason jar is also great for Easter decoration to keep the paper flower bouquet from cupcake liners.
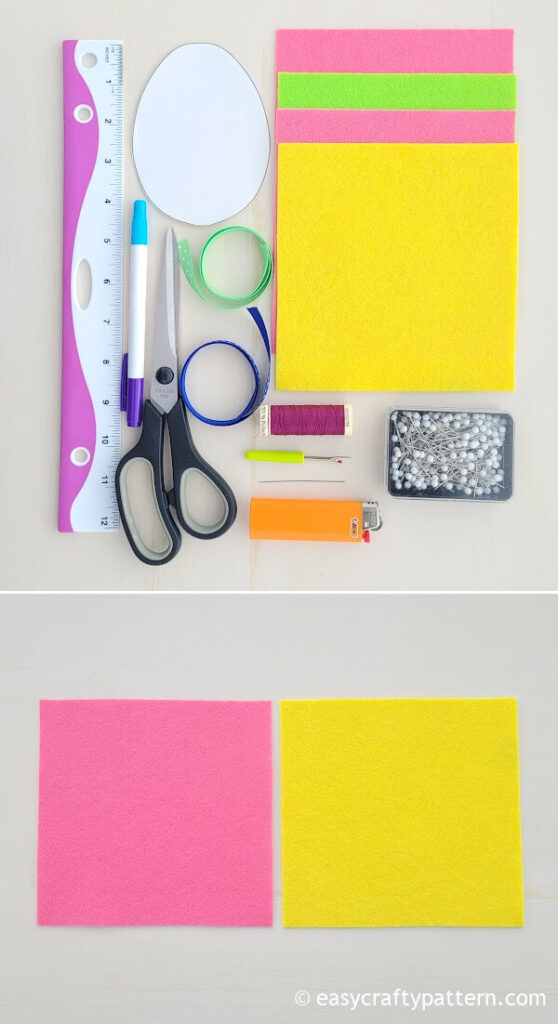
Supply To Make Easter Egg Treat Bag
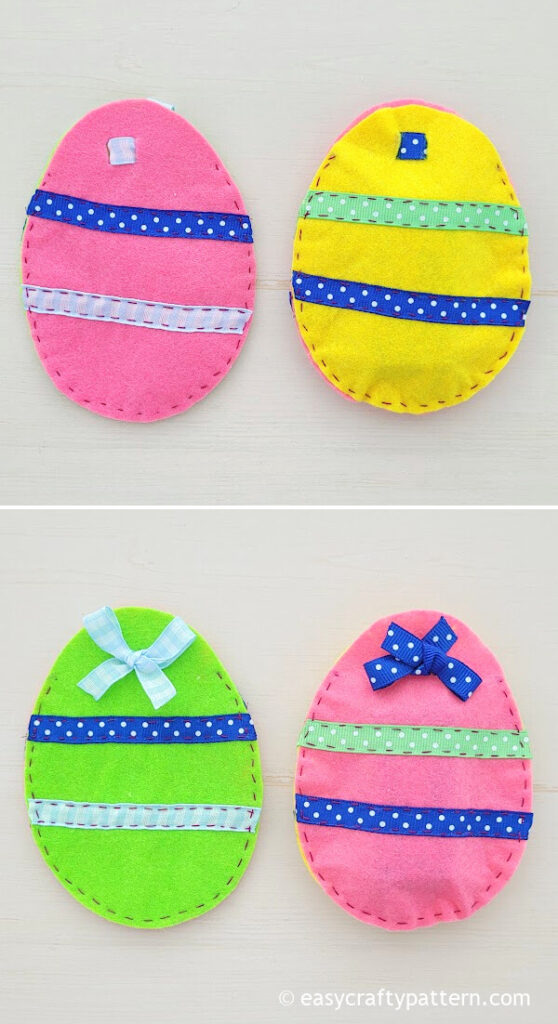
Use one piece of A4-size felt sheet in one color only for each bag, or use various mix-and-match colors for the front and back sides of the pouch.
To attach the ribbon on the front side, use tacky glue or stitch it with embroidery floss. If you prefer, you can add ribbon pieces on both sides.
- Felt, various colors or pastel colors only
- Easter egg treat bag template
- Ribbon
- Pin
- Scissors
- Seam ripper
- Lighter to seal the ribbon’s raw edge
- Ruler
- Yarn, thread, or embroidery floss
- Hand stitch needle or embroidery needle
Fillable Easter Egg Treat Bag Tutorial
Pin two felt sheets together, which can be the same or two different colors.
Trace the egg template on the felt, mark two spots on the felt as shown on the template then cut the egg-shaped.
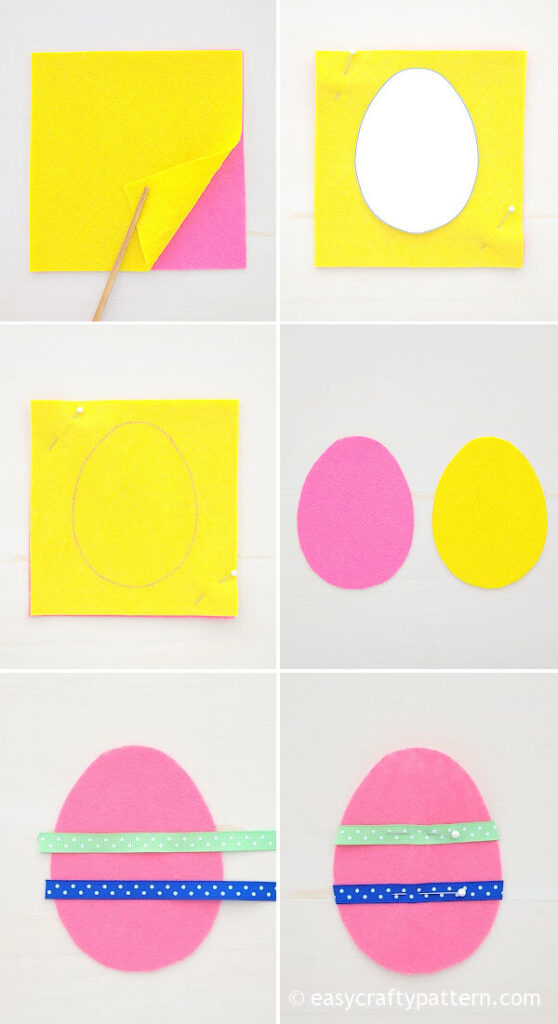
Put each ribbon piece on the egg shape felt across the width to measure the length of the ribbon.
Cut the ribbon to follow the egg-shaped edge. It should be slightly curved. The ribbon pieces will be around 3.5″ each, more or less, depending on the placement of the ribbon on the felt egg shape.
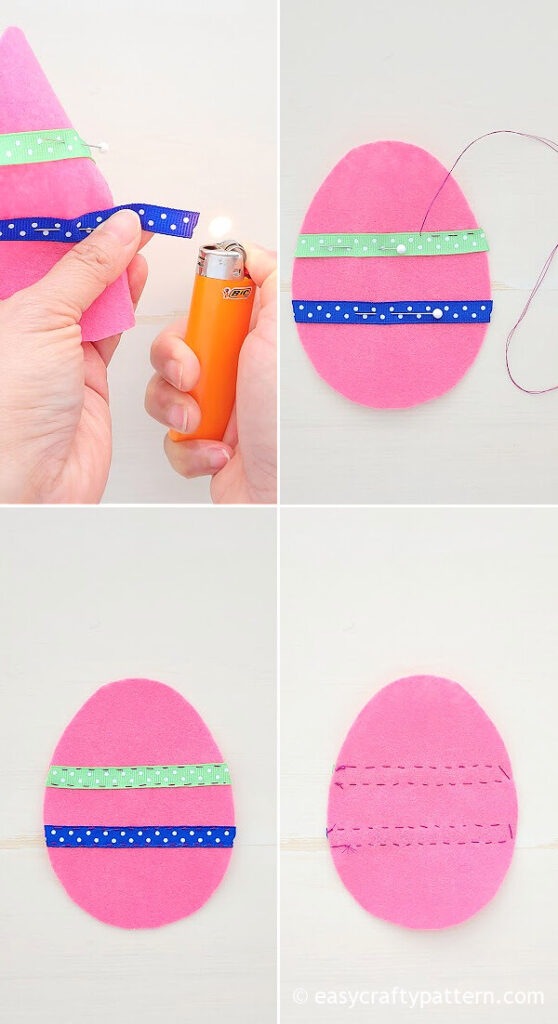
Use a lighter to seal the ribbon’s raw cutting edge.
Pin the ribbon on the felt. Both sealed edges should be aligned with the egg-shaped edge.
Repeat the process for the other ribbon pieces.
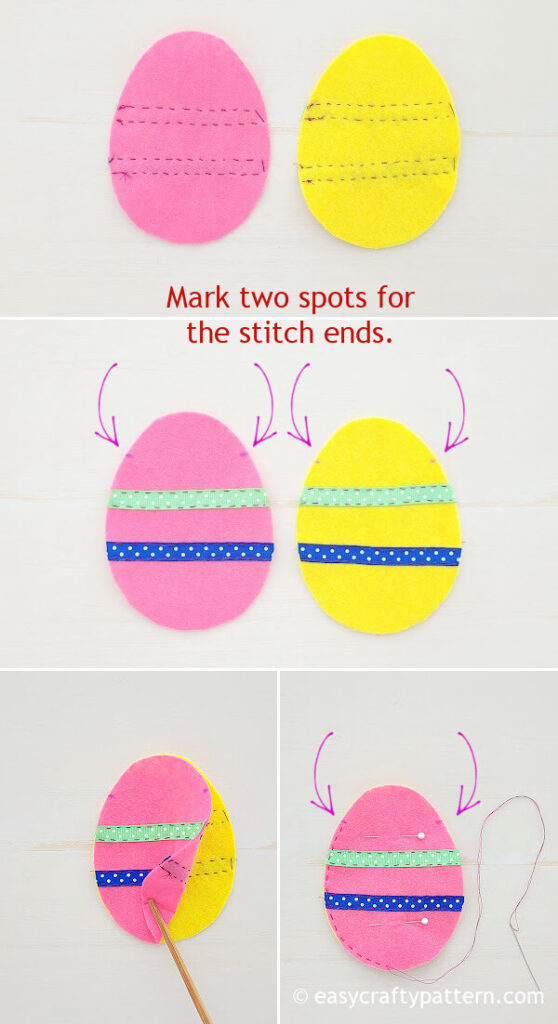
Pin both felt egg-shaped pieces together. Mark two spots 2.5″ apart on the top edge for the stitch ends.
Stitch the edge to the marked spots.
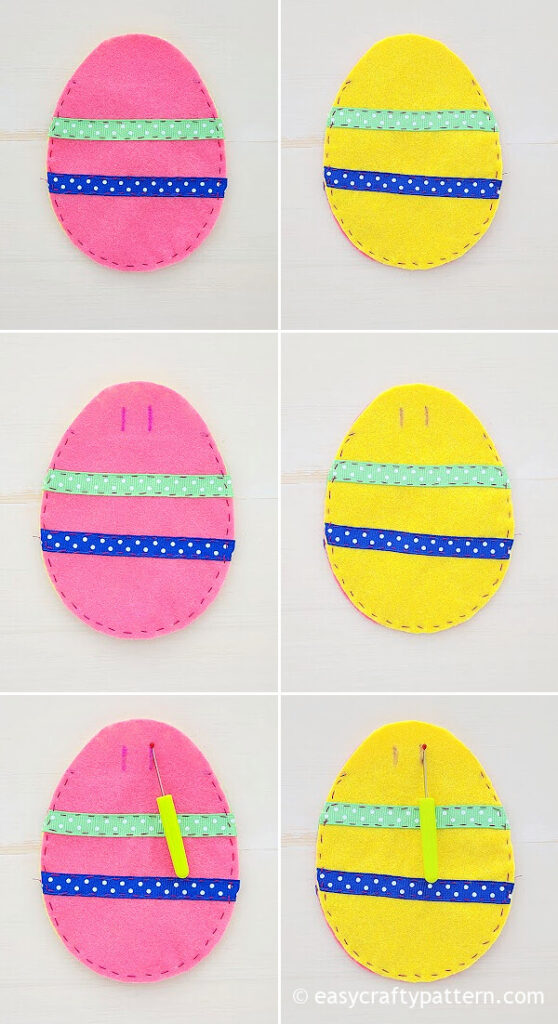
Make two little slits around the top on the front and back sides by using a seam ripper or scissors.
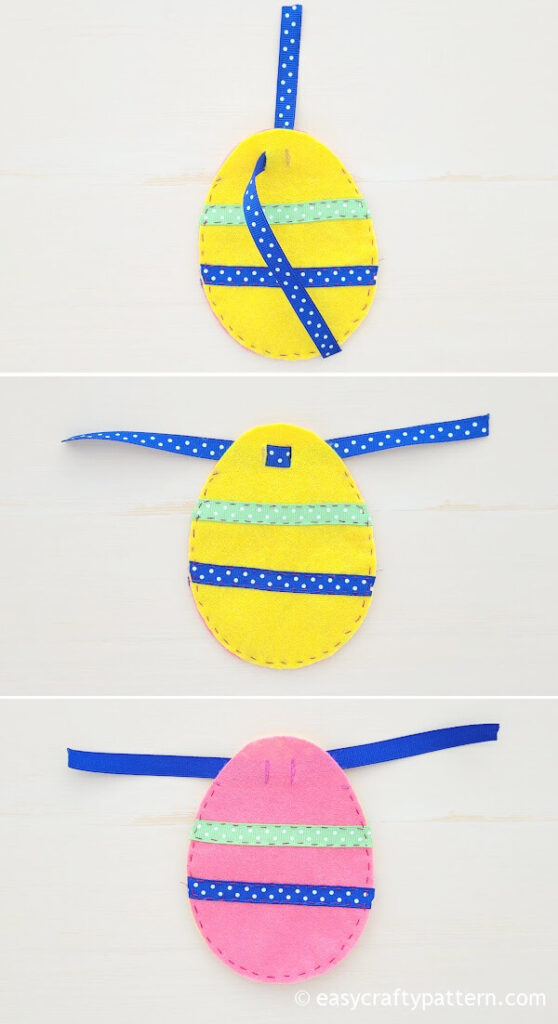
Insert the ribbon into the two slits on the back sides of the bag.
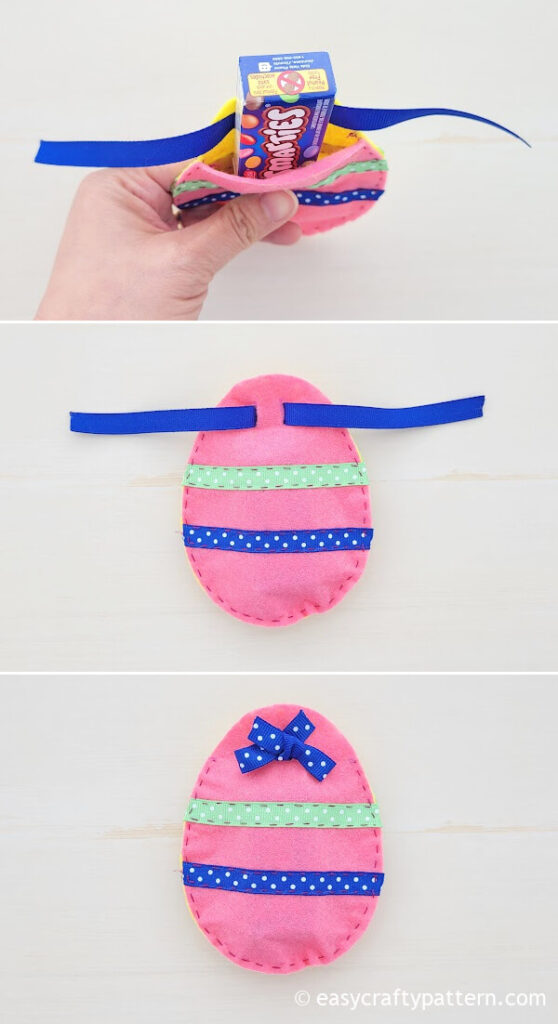
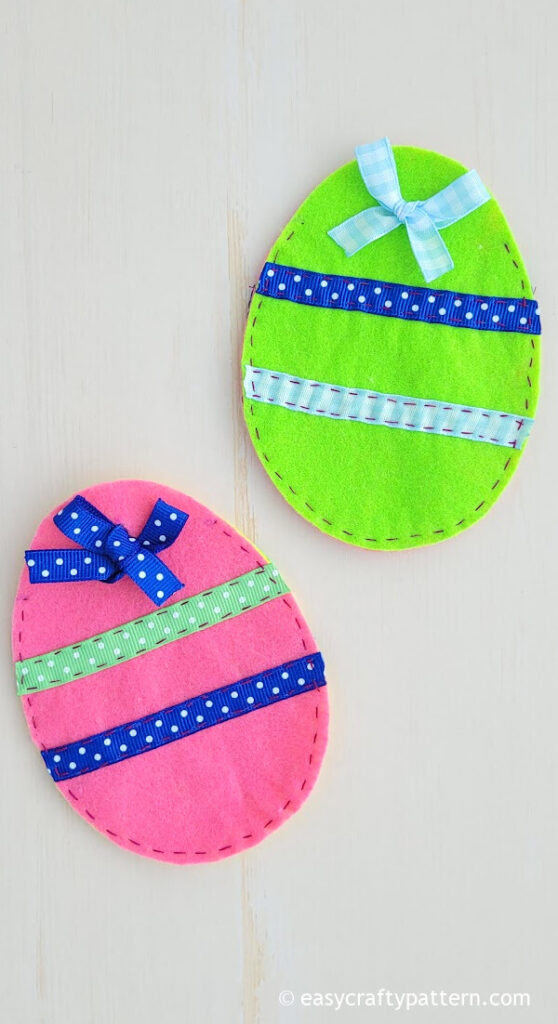
Put some treats or little toys into the pouch, insert the ribbon into the front side of the bag, then knot it to make a bow.
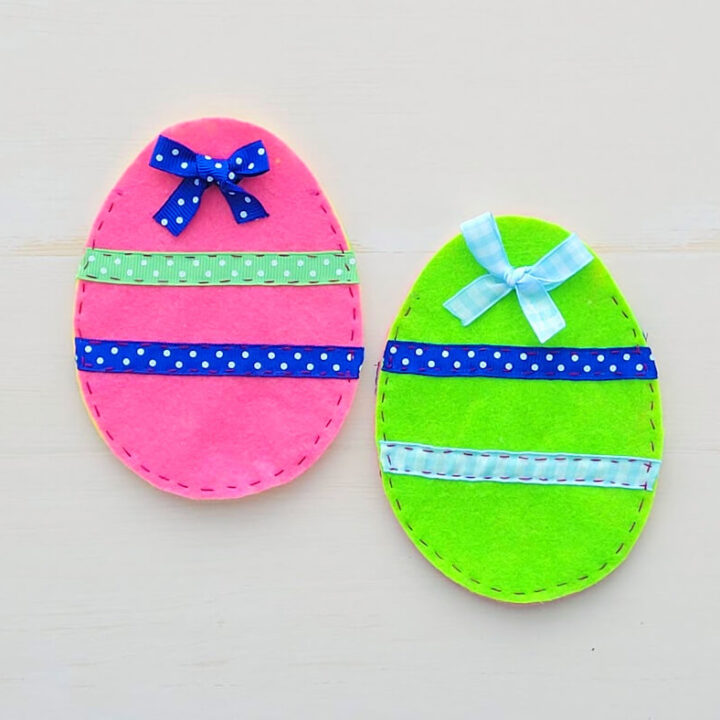
The Easter felt egg bag is ready for gift-giving or an Easter egg hunt.
This fillable Easter egg pouch has a knotted ribbon to secure the treat inside the bag so it won’t spill or fall off. I use the knotted ribbon fastener from this felt envelope tutorial.
More Easy Craft Ideas From Felt
- Felt Braided Bracelet
- Felt Daisy Flowers
- Felt Clover And Shamrock
- Felt And Button Chain
- Felt Gift Card Holder Envelope
Easy DIY Easter Egg Treat Pocket From Felt
Felt Easter Egg Treat Bag
Use this fillable treat bag pattern and tutorial to make easy and adorable felt Easter egg treat bags. Gift-giving Easter treats will be much easier. Use tacky glue or straight stitch around the edge.
Materials
- Felt, various colors or pastel colors only
- Easter egg treat bag template
- Ribbon
Tools
- Pin
- Scissors
- Seam ripper
- Lighter to seal the ribbon's raw edge
- Ruler
- Yarn, thread, embroidery floss, or tacky glue
- Hand stitch needle or embroidery needle
Instructions
- Pin two felt sheets together, which can be the same or two different colors.
- Trace the egg template on the felt, mark two spots on the felt as shown on the template then cut the egg-shaped.
- Put each ribbon piece on the egg shape felt across the width to measure the length of the ribbon.
- Cut the ribbon to follow the egg-shaped edge. It should be slightly curved. The ribbon pieces will be around 3.5" each, more or less, depending on the placement of the ribbon on the felt egg shape.
- Use a lighter to seal the ribbon's raw cutting edge.
- Pin the ribbon on the felt. Both sealed edges should be aligned with the egg-shaped edge.
- Repeat the process for the other ribbon pieces.
- Pin both felt egg-shaped pieces together.
- Mark two spots 2.5" apart on the top edge for the stitch ends.
- Stitch the edge to the marked spots.
- Make two little slits around the top on the front and back sides by using a seam ripper or scissors.
- Insert the ribbon into the two slits on the back sides of the bag.
- Put some treats or little toys into the pouch, insert the ribbon into the front side of the bag, then knot it to make a bow.
- The Easter felt egg bag is ready for gift-giving or an Easter egg hunt.