Easter Bunny Mason Jar Craft For Candy Treats
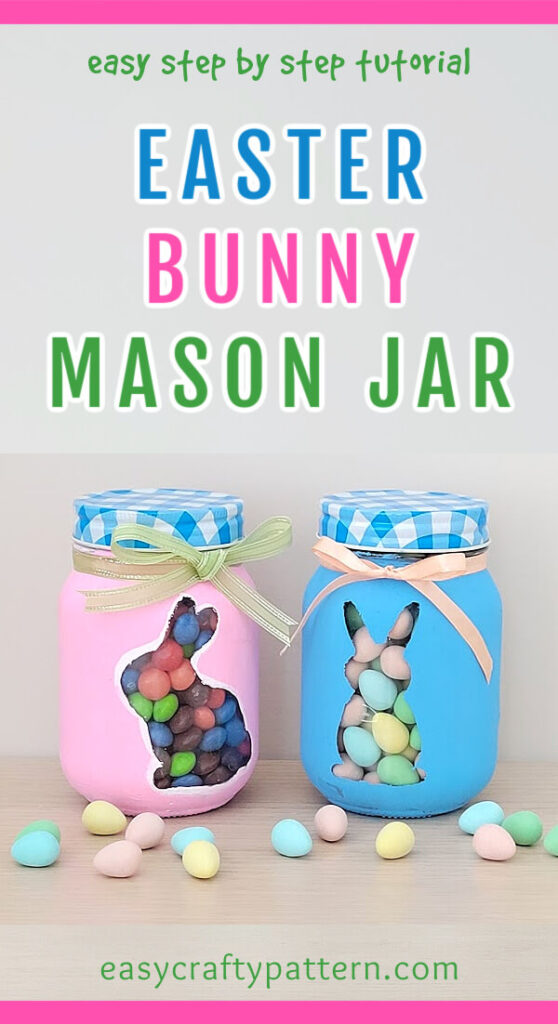
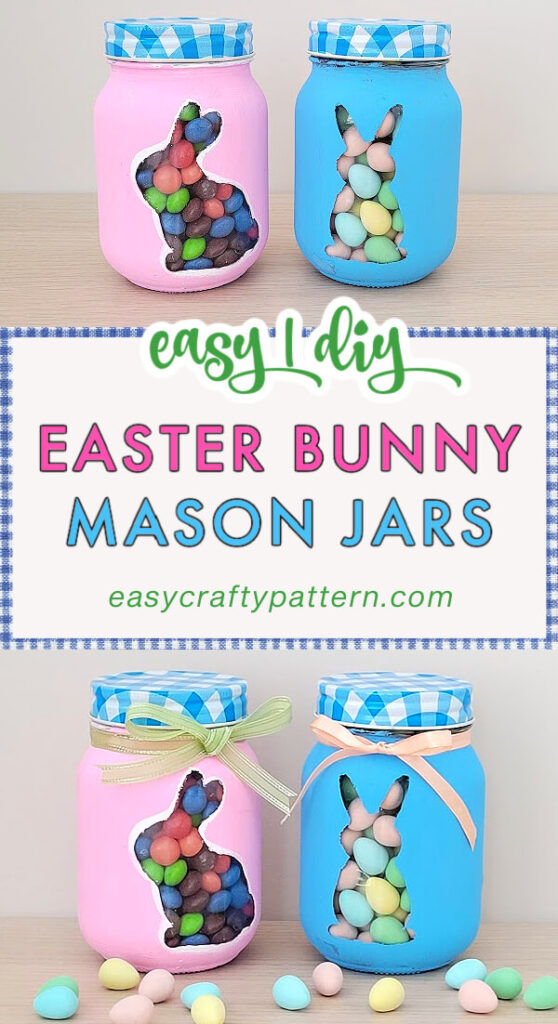
Easy craft project idea for Easter to make an Easter bunny mason jar using acrylic paint and use the jar for storing treats or as a vase for a flower bouquet.
Mason Jar Craft Idea For Easter
Decorating the mason jar is a fun craft idea for any time of the year. However, because this tutorial is for Easter or spring season, we will use a bunny silhouette template to decorate the mason jar.
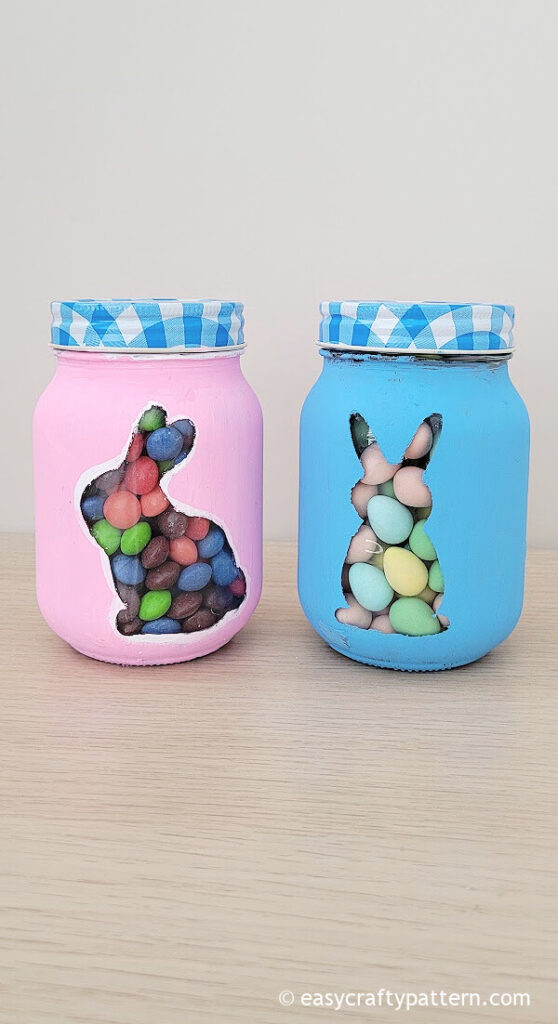
I use the bunny template only on one side of the jar. You can use the template for one side or the back and front sides.
Use one bunny shape template or combine it with two different bunny templates in one jar.
Paint Type For Mason Jar
You will paint the jar on the outside so that the paint won’t touch the food if you plan to use this Easter mason jar for candy treats.
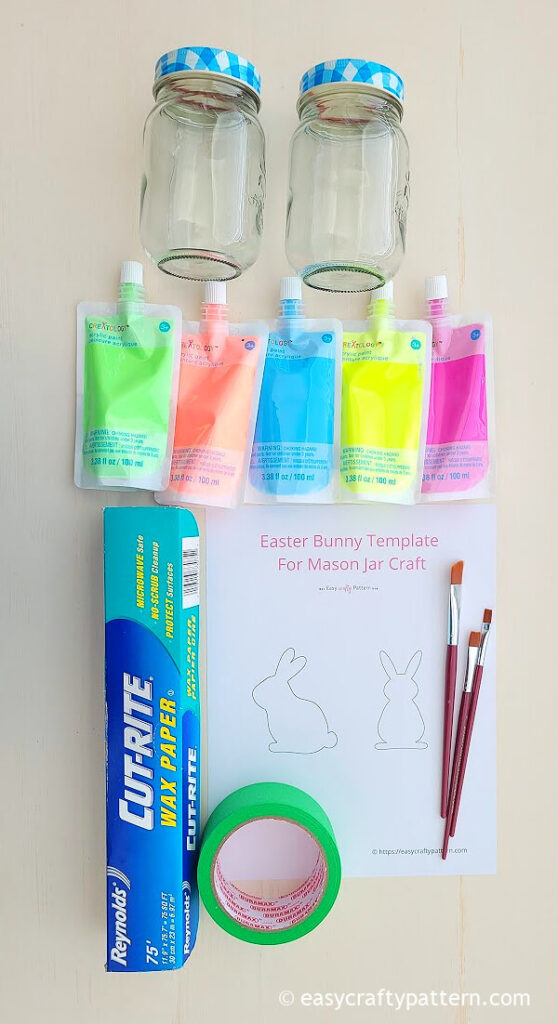
You can use chalk paint or acrylic paint to paint the mason jar. Use a few coats of sprayed primer if needed before painting it.
I skipped using the primer. Instead, four coats of acrylic paint cover the mason jar nicely.
Use a single-colour paint or combine it with multiple colours with vertical or horizontal stripe patterns.
Supplies To Make Easter Bunny Mason Jar
Use any mason jars you have for canning or specifically for crafting. Another option is using a honey or pasta sauce jar for an upcycling project.
I use this cute jar with a plaid lid I found at a dollar store. It is a 5 inches jar that holds 500ml volume.
- 2 mason jars
- Bunny templates
- Acrylic paint or chalk paint
- Paintbrush or foam brush
- Painter’s tape
- Wax paper
- Scissors
- Pencil
Easter Bunny Mason Jar Tutorial
Print the bunny template and cut each bunny template.
Cut wax paper into 4 inches square, or just enough length to trace the bunny shape.
Cut several pieces of painter’s tape to match the length and width of the wax paper.
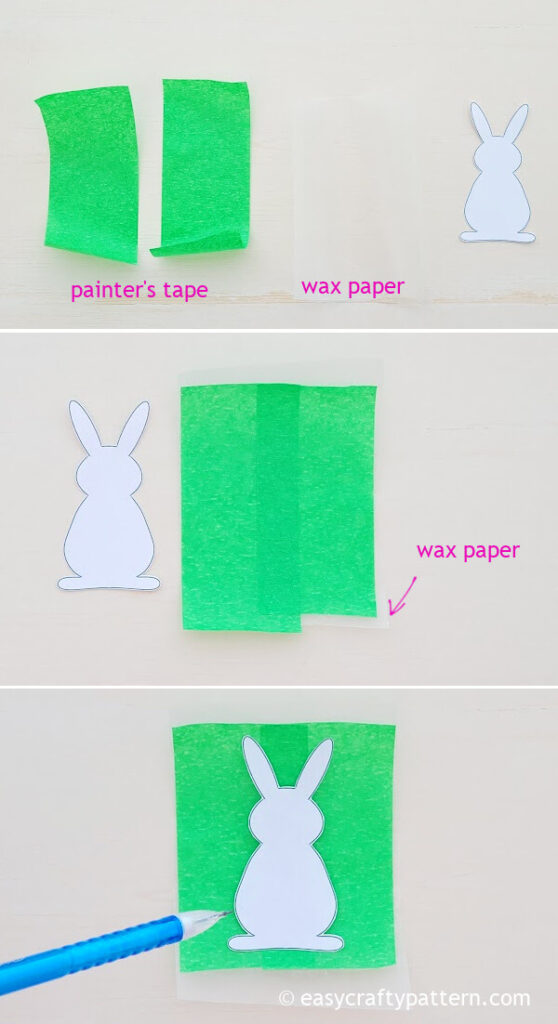
Attach the painter’s tape pieces to the wax paper.
Trace the bunny template on the painter’s tape.
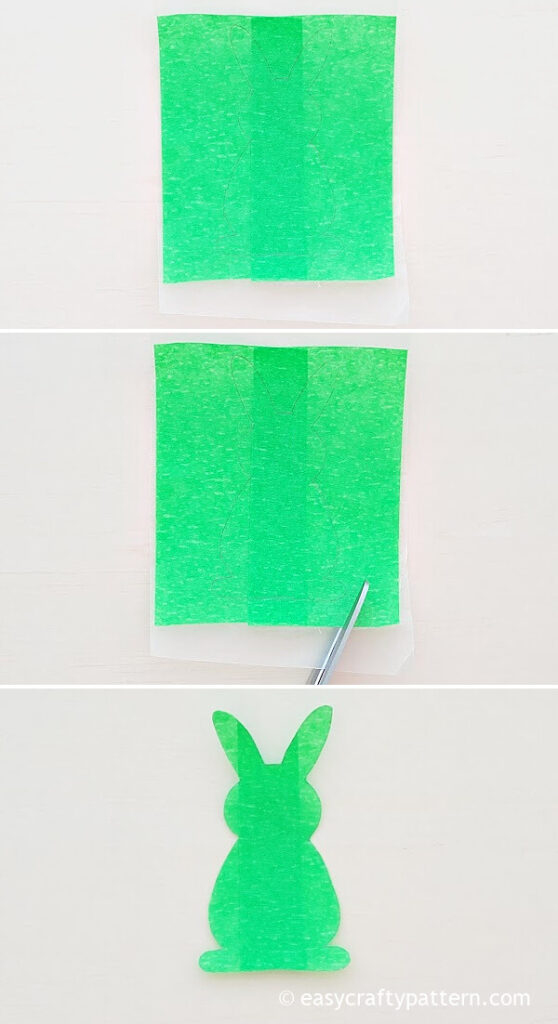
Cut the traced bunny shape.
Remove the wax paper, then attach the bunny shape painter’s tape to the mason jar.
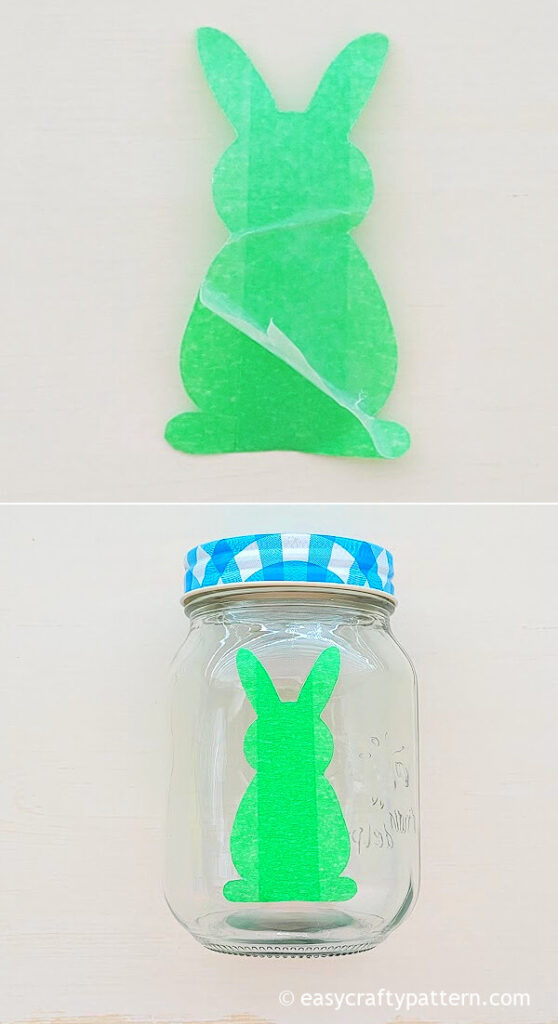
Start painting the mason jar with your favourite colour.
Depending on the paint you use, you might want to paint the mason jar with several coats.
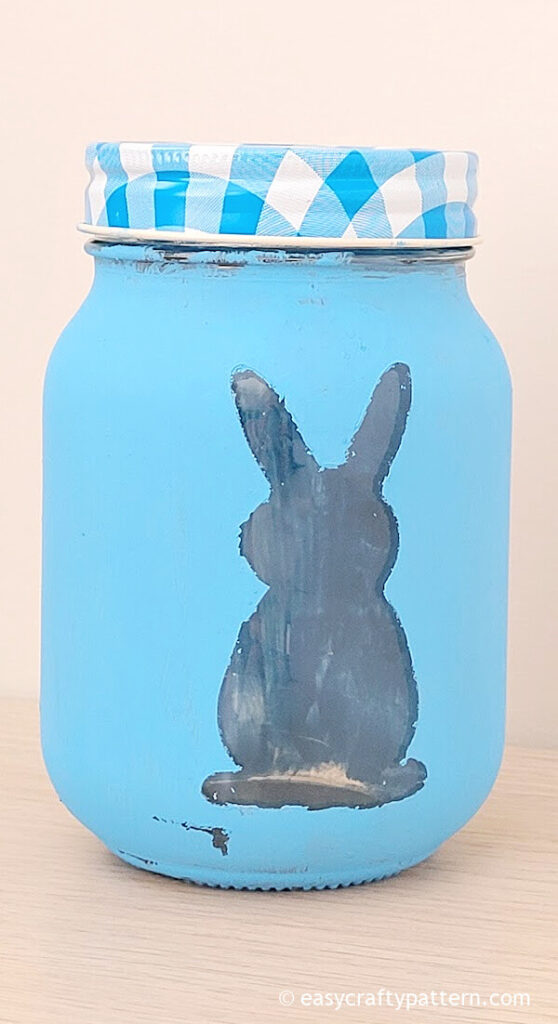
I use acrylic paint, which needs four coats to make it look fully painted.
Wait until the paint is fully dry between coats.
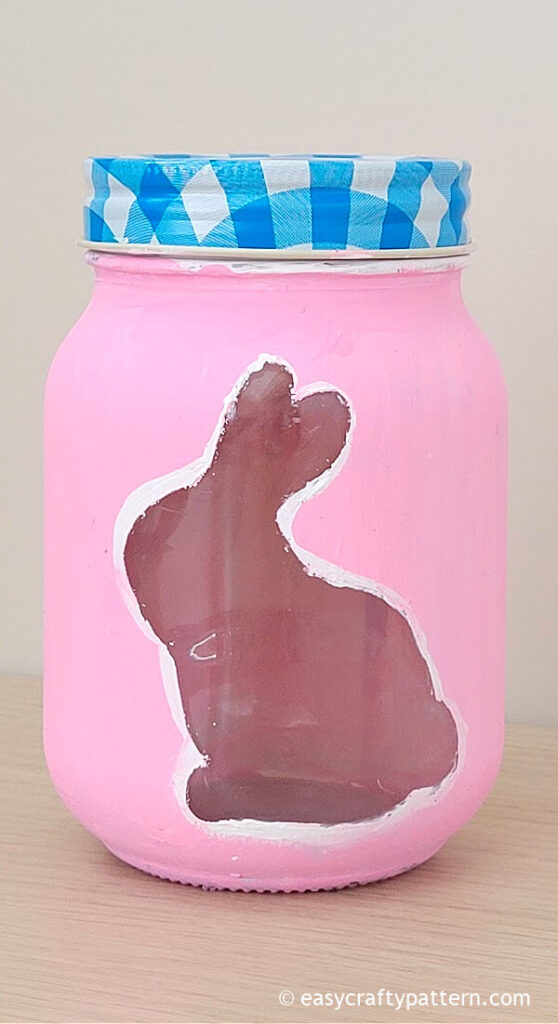
Once the last coat has dried up, carefully remove the painter’s tape bunny shape.
If the bunny silhouette edge seems rough, you can use the smallest paintbrush and paint it with the same or different paint colour to smoothen it up.
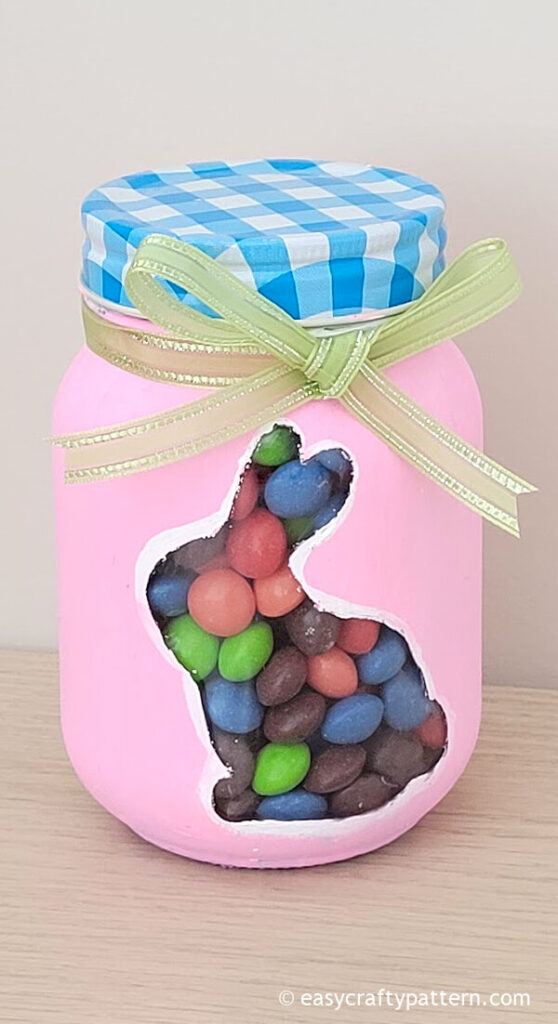
Make sure you clean inside the jar before putting in some candy treats. Put candy treats in the jar.
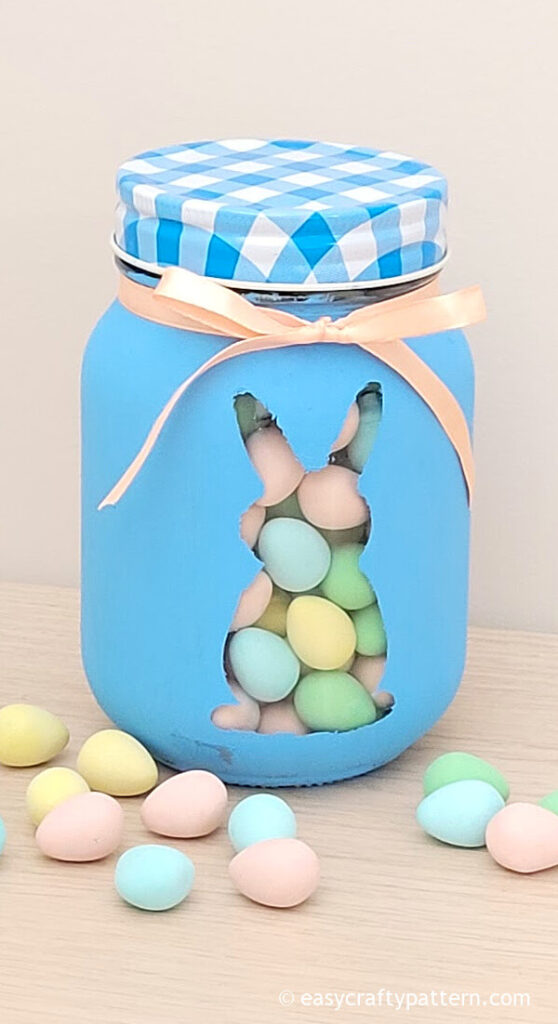
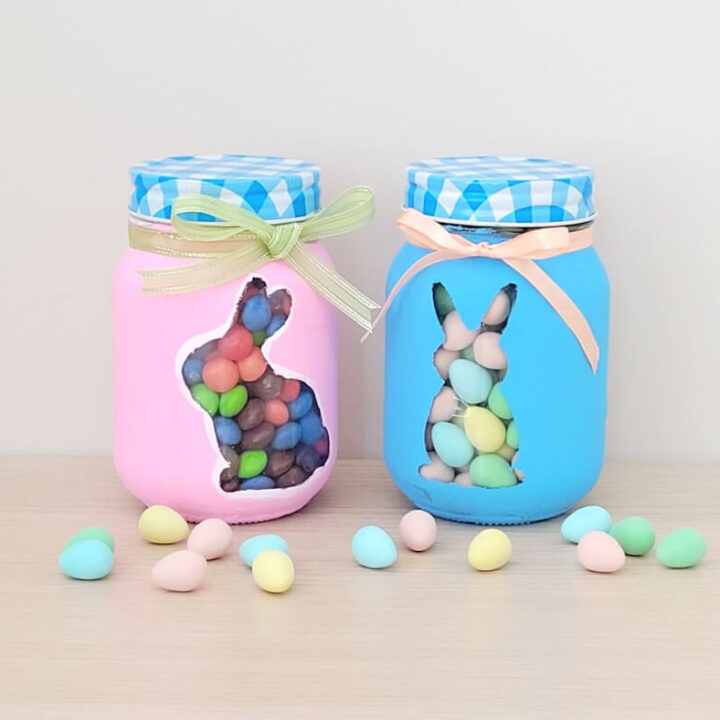
This blue mason jar has mini chocolate eggs for the filler. You can also use those wrapped chocolate balls, cookies, or candies.
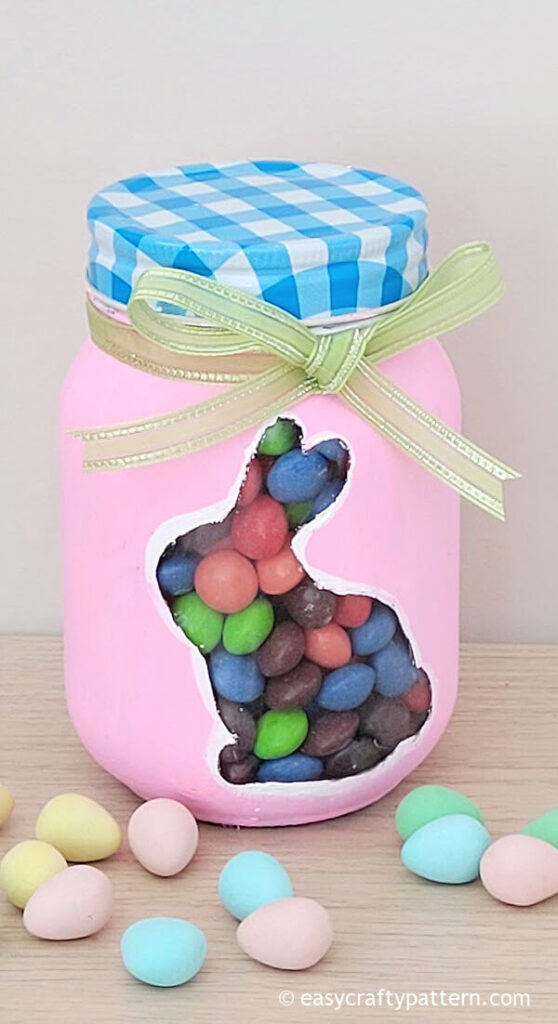
You can fill the jar with Skittles pieces, dairy-free cookies, or wrapped hard candies if anyone has a dairy allergy, as shown on this pink mason jar.
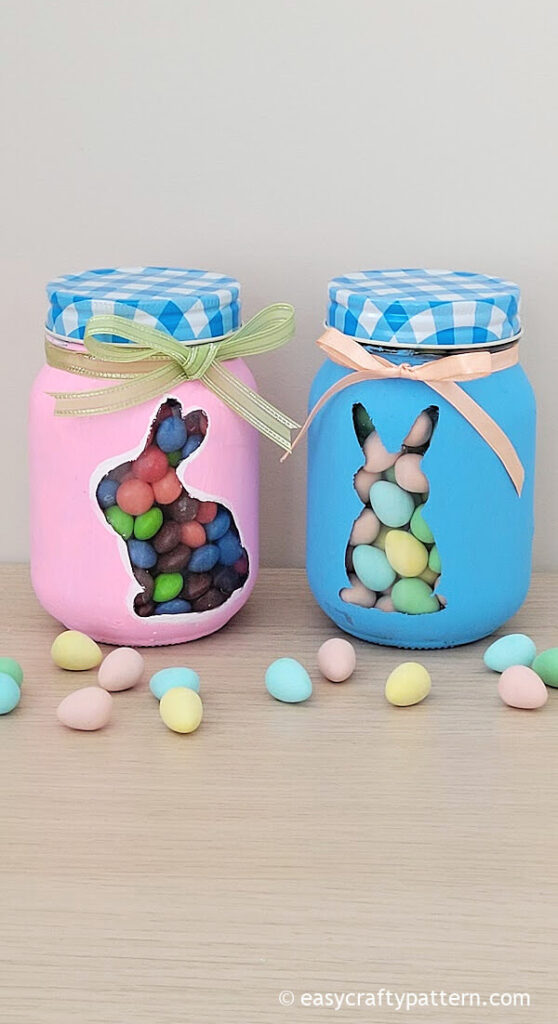
To make the jar look more adorable, add the ribbon, lace ribbon, or decorative twine below the lid for the finishing touch.
The Easter bunny candy jar is perfect for gifts or decorating the tabletop for Easter brunch.
The peek-through from the bunny silhouette lets you see the treats inside the jar. You can make up an Easter game to see if anyone can guess how many treats are inside the jar.
Easter mason jar ideas you can make for a gift or a fun Easter game. #Eastercrafts #masonjarcrafts Share on XFor a non-food jar, you can use this Easter bunny mason jar for a vase. Carefully fill the jar with water, and add your favourite spring flower bouquet. It is perfect for an Easter centrepiece.
More fun ideas for the spring season
DIY Easter Craft Project To Make Easter Bunny Mason Jar
Easter Bunny Mason Jar Craft For Candy Treats
Easy craft project idea for Easter to make an Easter bunny mason jar using acrylic paint and use the jar for storing treats or as a vase for a flower bouquet.
Materials
- 2 mason jars
- Bunny templates
- Acrylic paint or chalk paint
Tools
- Paintbrush or foam brush
- Painter's tape
- Wax paper
- Scissors
- Pencil
Instructions
- Print the bunny template and cut each bunny template.
- Cut wax paper into 4 inches square, or just enough length to trace the bunny shape.
- Cut several pieces of painter's tape to match the length and width of the wax paper.
- Attach the painter's tape pieces to the wax paper.
- Trace the bunny template on the painter's tape.
- Cut the traced bunny shape.
- Remove the wax paper, then attach the bunny shape painter's tape to the mason jar.
- Start painting the mason jar with your favourite colour.
- Depending on the paint you use, you might want to paint the mason jar with several coats. I use acrylic paint, which needs four coats to make it look fully painted.
- Wait until the paint is fully dry between coats.
- Once the last coat has dried up, carefully remove the painter's tape bunny shape.
If the bunny silhouette edge seems rough, you can use the smallest paintbrush and paint it with the same or different paint colour to smoothen it up. - Make sure you clean inside the jar before putting in some candy treats.
- Put candy treats in the jar.
Notes
Total time is approximate. It would vary depending on how long the paint dries between each coat.
