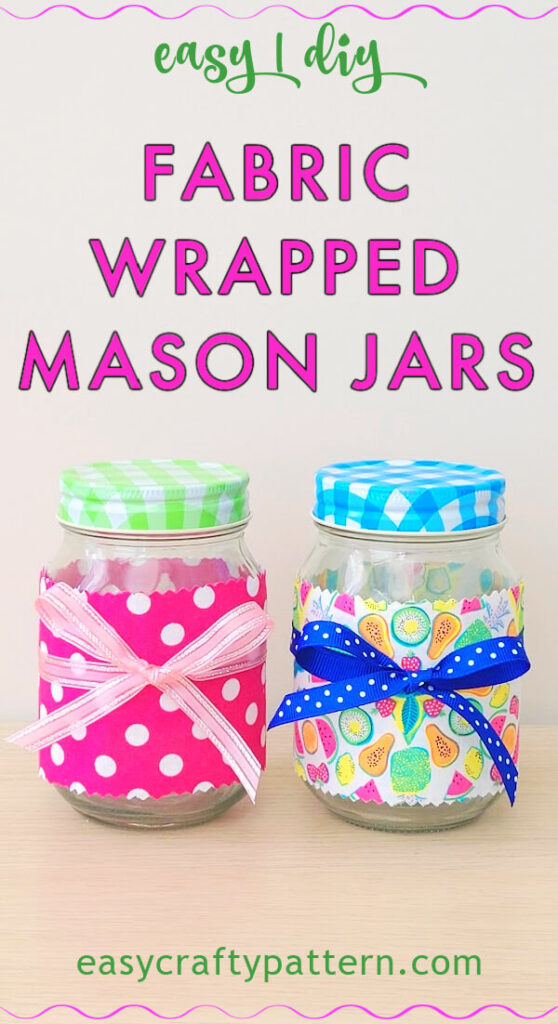
Fabric-Covered Mason Jar Tutorial
Use this easy tutorial for wrapping a mason jar with fabric for an easy decorating idea and a fantastic homemade Mother’s day gift or teacher appreciation.
Wrapping Mason Jar With Fabric
On Mother’s day and the holiday season, I always get an adorable gift my kid makes at school, like greeting cards with so many doodles and stickers, a seasoning mix, a tea party package, and a snow globe on a decorated mason jar. I collect these gifts and keep them in a specific memory box.
Inspired by that, I share this easy mason jar craft by decorating mason jars with a fabric piece and an adhesive of your choice.
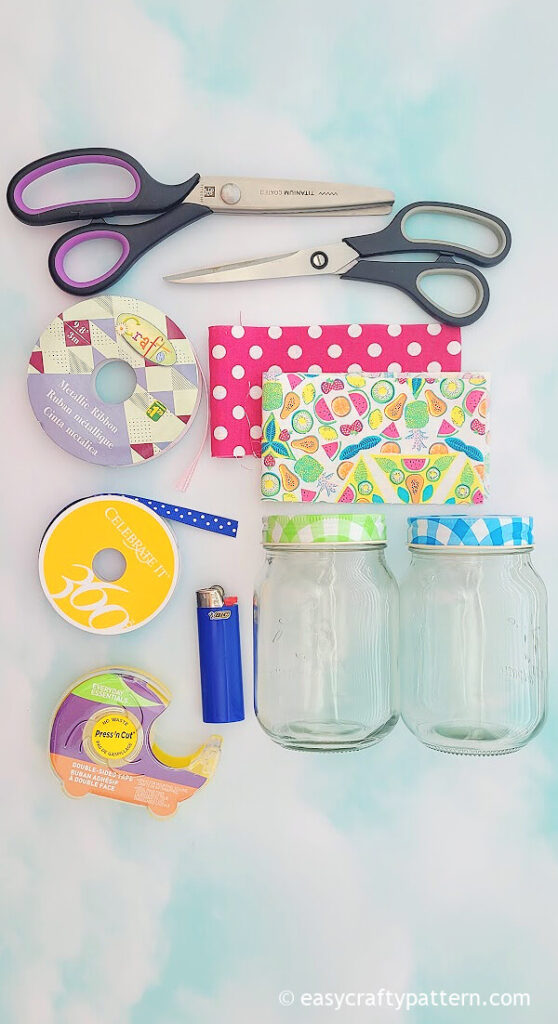
Material For Making Fabric-Covered Mason Jar
This project uses double-sided tape, so you can change the fabric anytime if you want a different print and colour.
The type of fabric for mason jars depends on your preference. A lightweight fabric would be better if you use double-sided tape for the adhesive. If you use a medium or heavy-weight fabric like home decor fabric, then use hot glue or crafting glue.
I used cotton quilt fabric for this project as I have so many stashes of fabric scraps. This fabric print is particularly from making a beverage holder cozy.
To prevent fraying, use the pinking sears to trim the fabric edge, use a fray check liquid, or sew the edge with a tiny hem.
- Fabric scraps
- Mason Jar
- Double-sided tape
- Ribbon or twine
- Scissors
- Pinking Sears
- Lighter
Step By Step To Make Fabric Covered Mason Jar
To determine the fabric length you need, measure the middle circumference of the mason jar glass, then add 1″.
To determine the fabric width you need, measure the mason jar from below the jar neck to 0.5″ above the mason jar base.
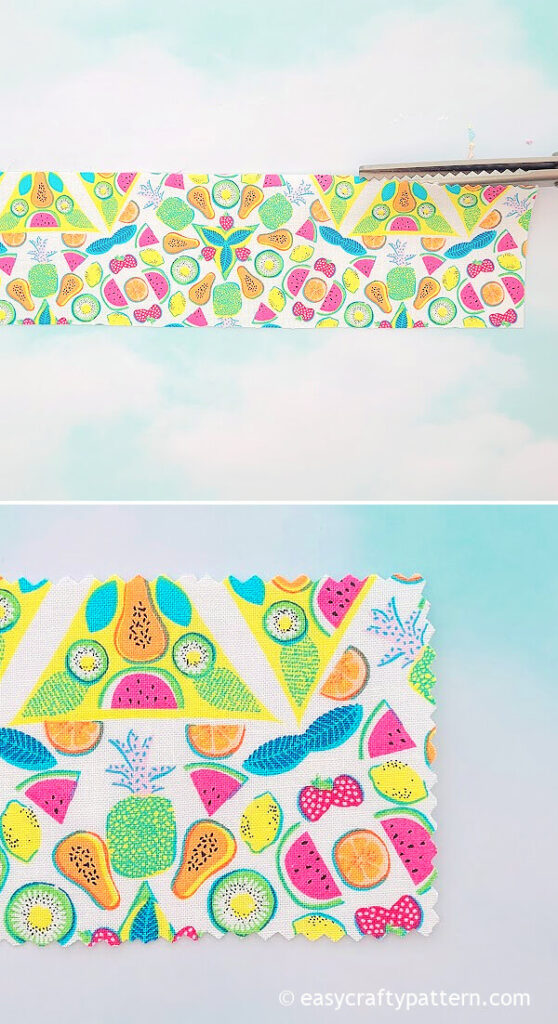
Cut the fabric based on the measurement length and width to have a rectangular piece. Trim the edge of the fabric with the pinking sears to prevent fraying.
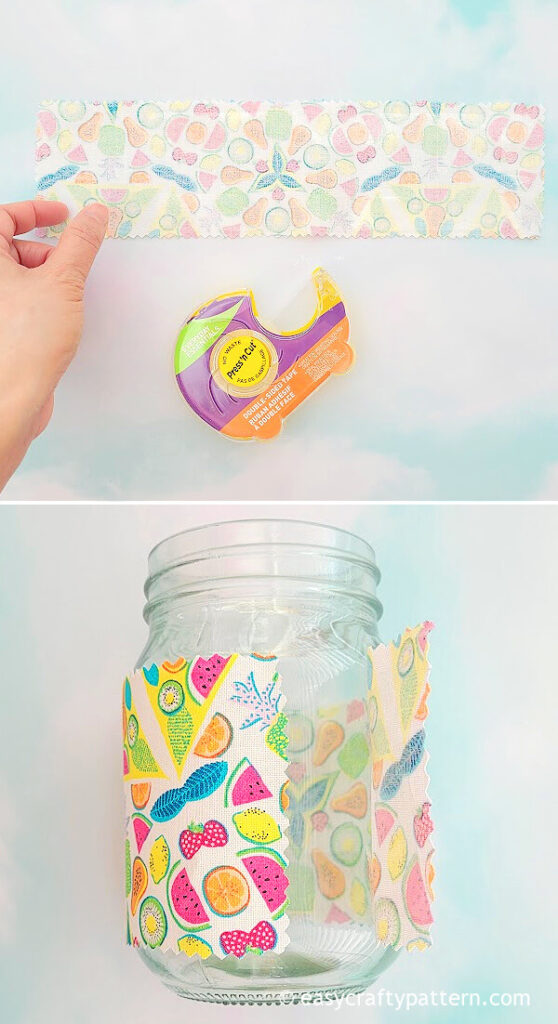
Attach the double-sided tape along the wrong side of the fabric edge.
If sticking the tape to the fabric is challenging, then attach the double-sided tape directly to the mason jar.
Wrap around the fabric to the mason jar. Add another piece of double-sided tape on the extra fabric’s short edge.

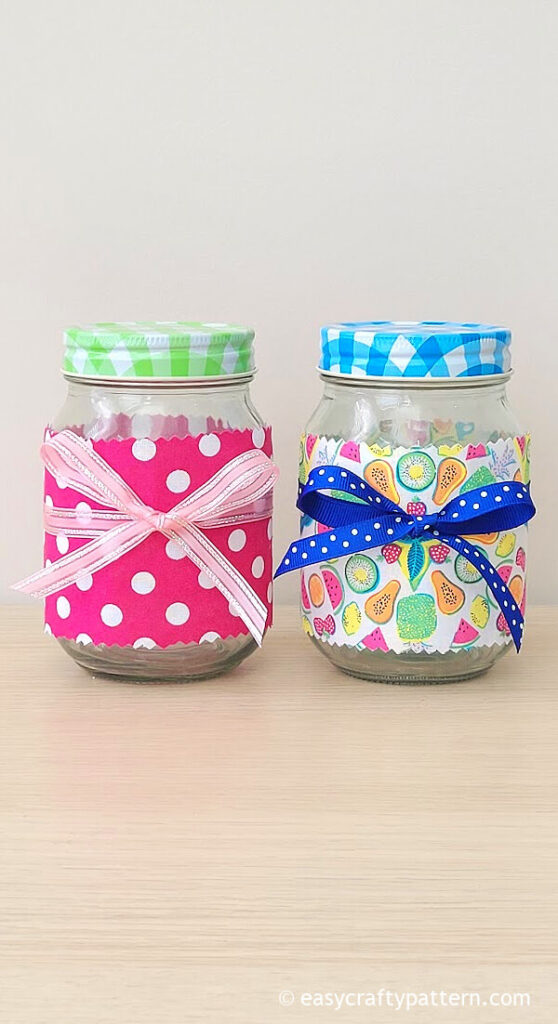
Cut the ribbon into 48″ and use a lighter to seal the ribbon’s raw edge.
Wrap around the ribbon to the fabric and make a bow knot.

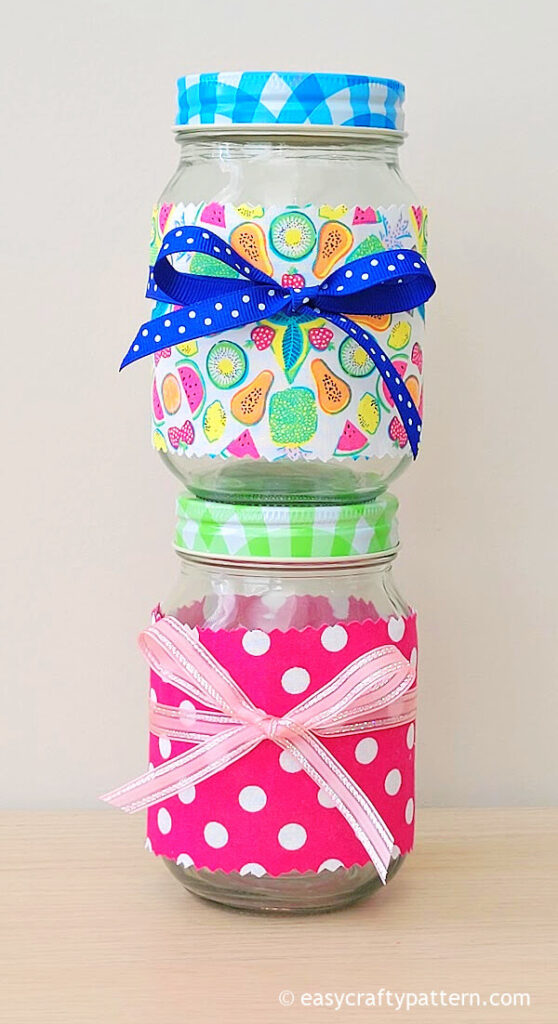
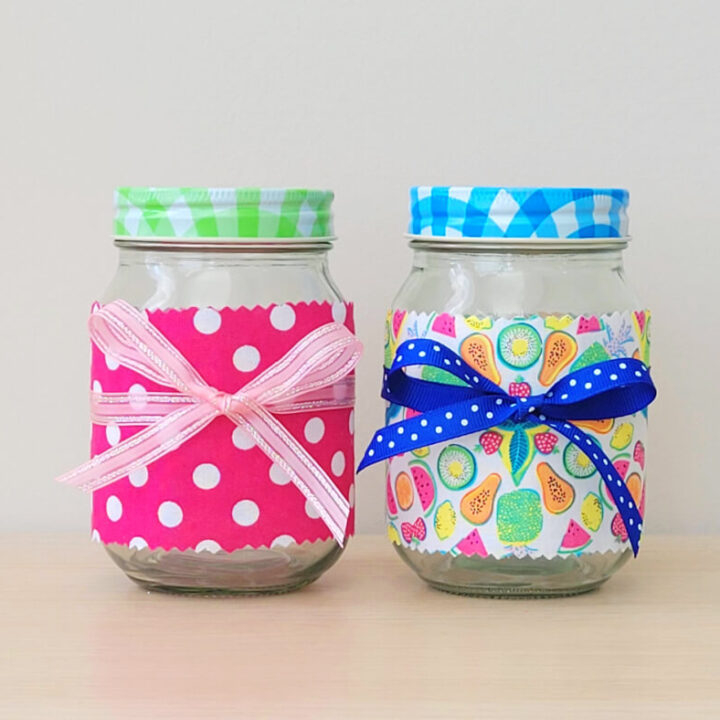
Now the ordinary-looking mason jar is ready for fun gift-giving or an easy DIY decor by wrapping it with a fun fabric print.

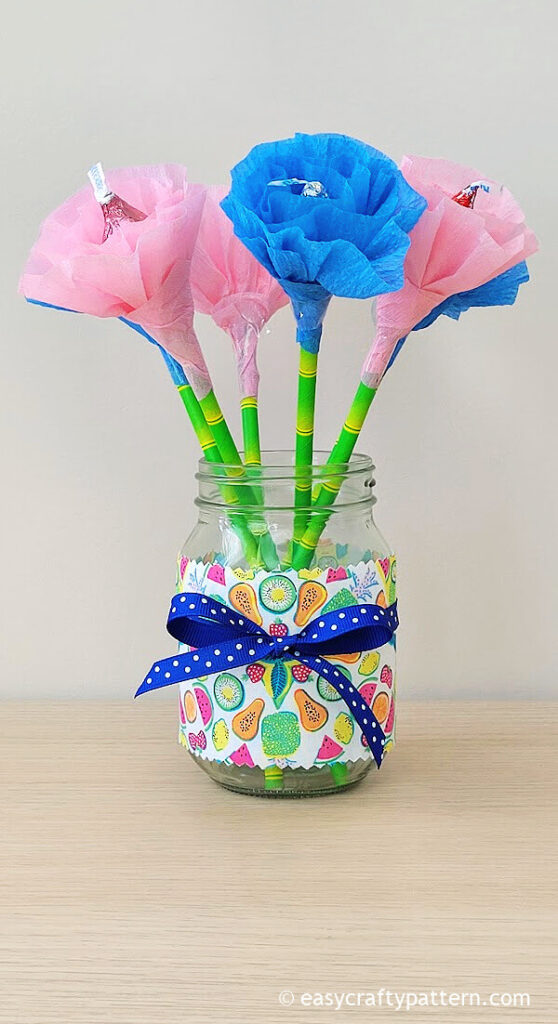
Make a chocolate paper flower bouquet and use this fabric-wrapped mason jar as the vase, and it is ready for Mother’s day gift or teacher appreciation gift ideas.
More Gift Wrapping Ideas
DIY Fabric-Covered Mason Jar For Quick Gift Ideas
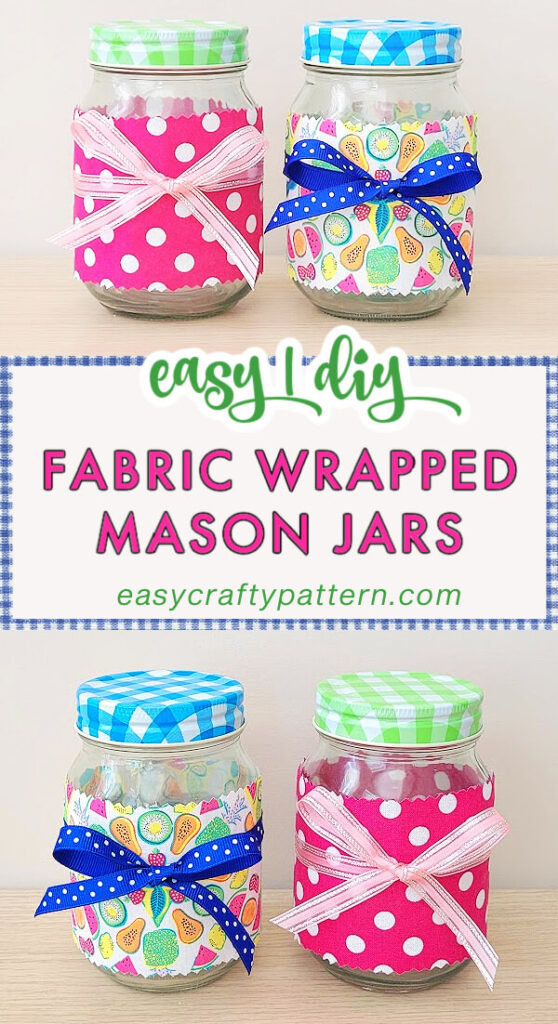
Fabric-Covered Mason Jar Tutorial
Use this easy tutorial for wrapping a mason jar with fabric for an easy decorating idea and a fantastic homemade Mother's day gift or teacher appreciation.
Materials
- Fabric scraps
- Mason Jar
- Double-sided tape
- Ribbon or twine
Tools
- Measuring tape
- Scissors
- Pinking Sears
- Lighter
Instructions
- To determine the fabric length you need, measure the middle circumference of the mason jar glass, then add 1".
- To determine the fabric width you need, measure the mason jar from below the jar neck to 0.5" above the mason jar base.
- Cut the fabric based on the measurement length and width to have a rectangular piece.
- Trim the edge of the fabric with the pinking sears to prevent fraying.
- Attach the double-sided tape along the wrong side of the fabric edge.
- If sticking the tape to the fabric is challenging, then attach the double-sided tape directly to the mason jar.
- Wrap around the fabric to the mason jar. Add another piece of double-sided tape on the extra fabric's short edge.
- Cut the ribbon into 48" and use a lighter to seal the ribbon's raw edge.
- Wrap around the ribbon to the fabric and make a bow knot.
Notes
Optional adhesive to use:
- hot glue
- crafting glue