How To Make An Easy Paper Boat
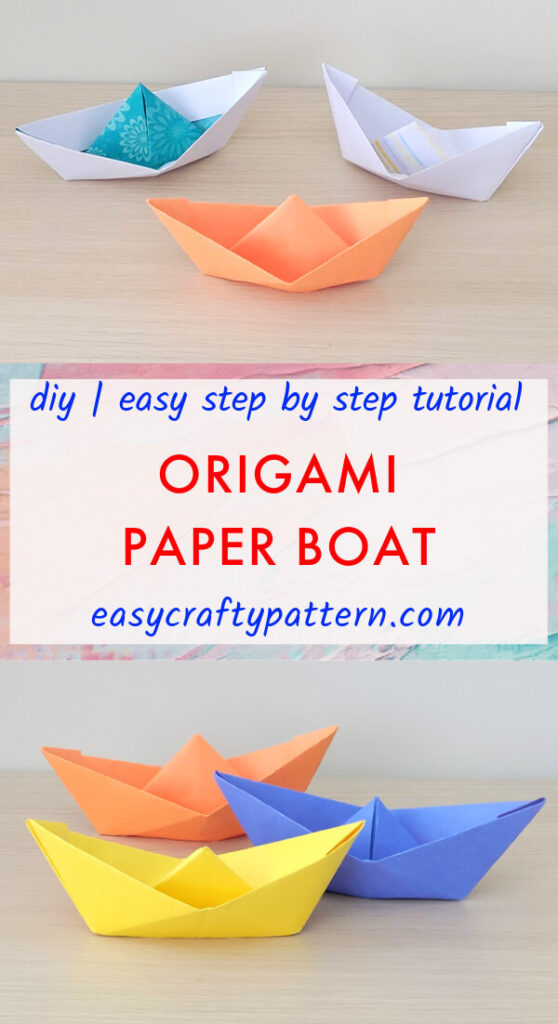
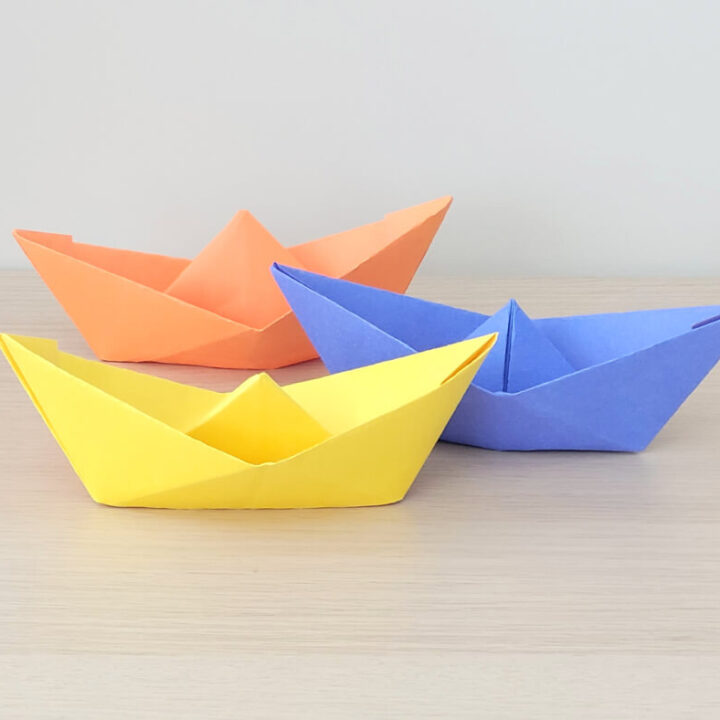
Quick and easy to make a paper boat, step-by-step tutorial with pictures. It is a simple origami project from just a piece of paper and lots of fun!
Origami Paper Boat
One of the simplest origami you can make to bring back memory and fun times. All you need to do is fold some paper a few times, add a few decorations or doodles you like, and your paper boat is ready in no time.
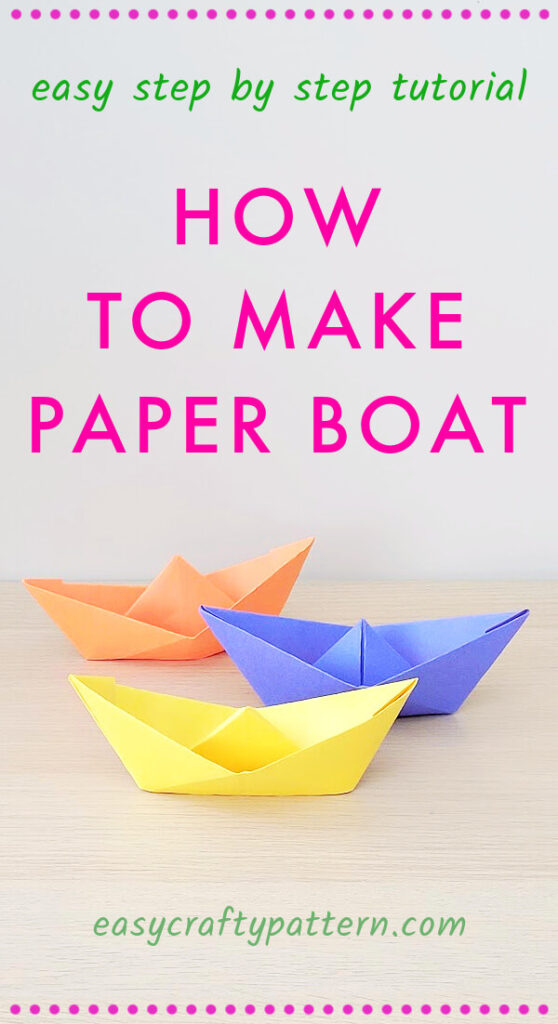
This paper boat is the exact one I used to make and play with when I was little. It is fun to make paper boats with various paper colours, and you can make them in different sizes too.
How To Make An Origami Boat
The only material you need to make a paper boat is print-size A4 paper. The colourful crafting paper is also fantastic for this project.
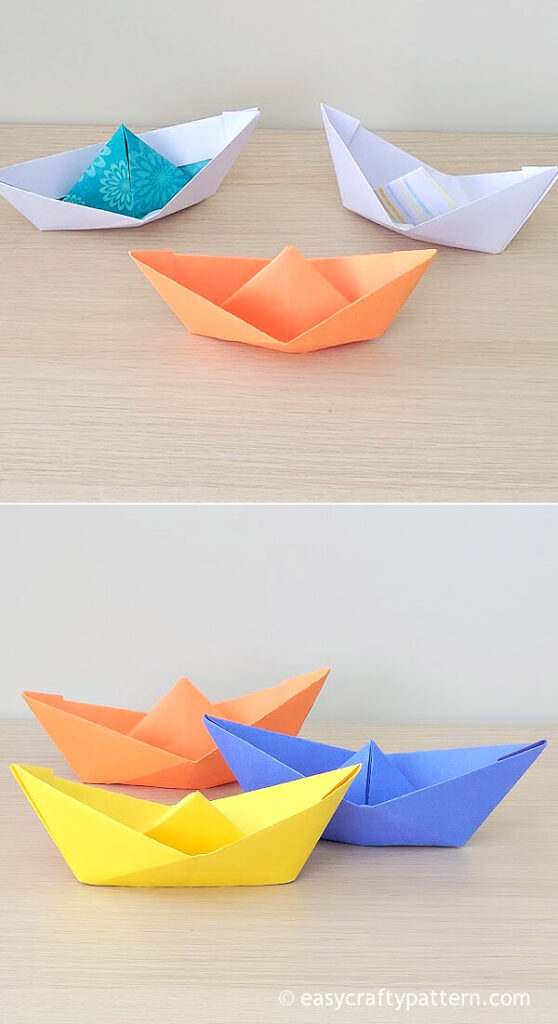
You can use stickers, pencil colour, or marker to add decoration or doodles.
The paper size should be rectangular. If you use a square shape like the paper specifically for origami, cut it into a rectangle for this project.
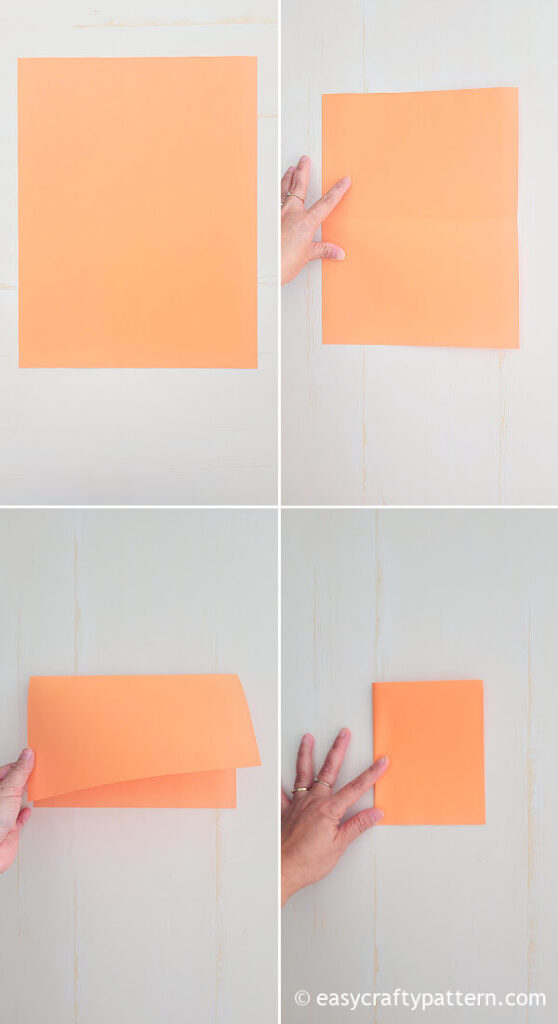
Prepare the paper you like. First, fold the paper half downward or lengthwise. Next, fold it again in half, then open it up.
Fold two corners on the top to the middle so both corners will meet up in the center along the folded line and resemble a triangle.
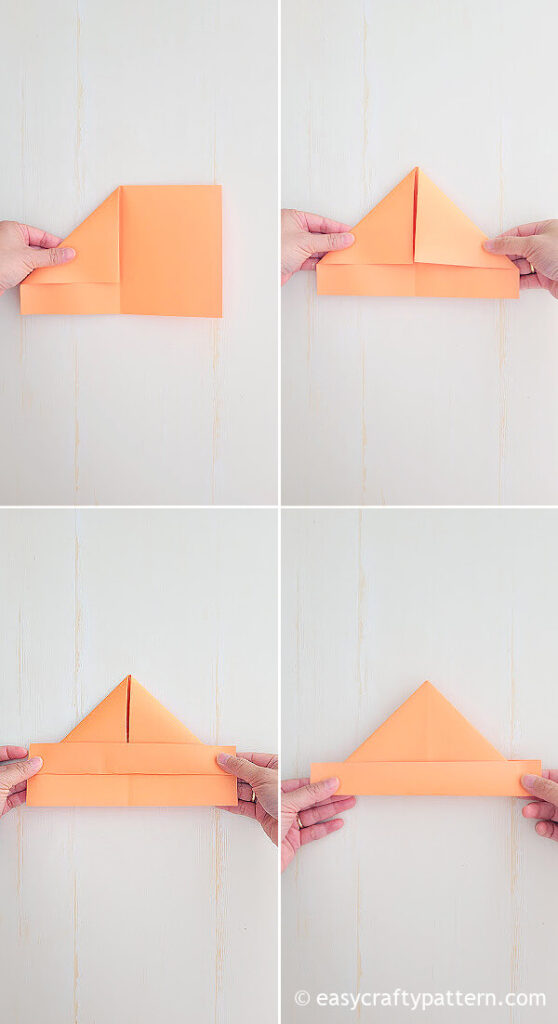
Fold up both rectangle shapes under the triangle. Put your thumb on the opening right in the centre by the folded line.
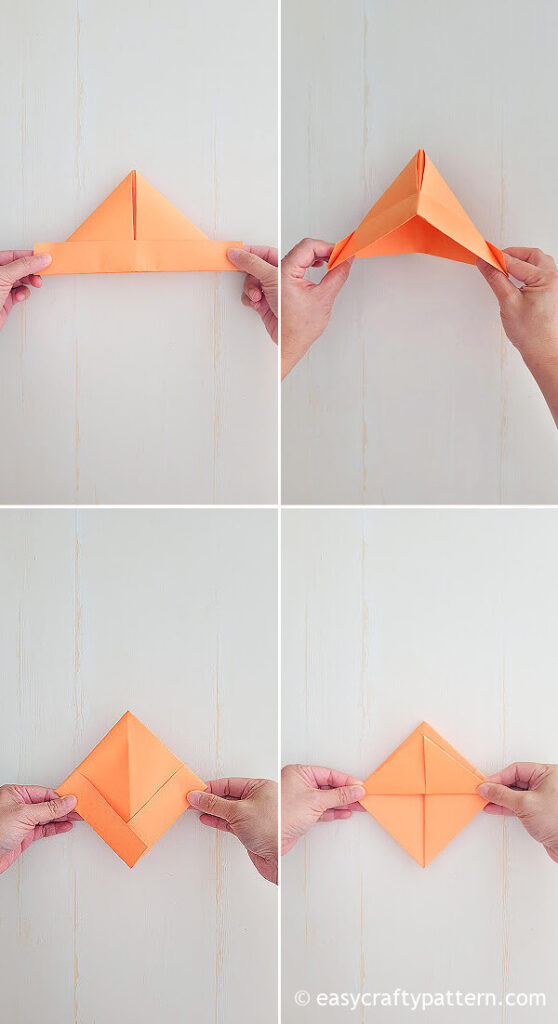
Pull both corners in the opposite direction. Now the paper resembles a diamond shape folded paper.
Press the paper flat. Fold the lower side upward, align it with the top, and do the same for the opposite side.
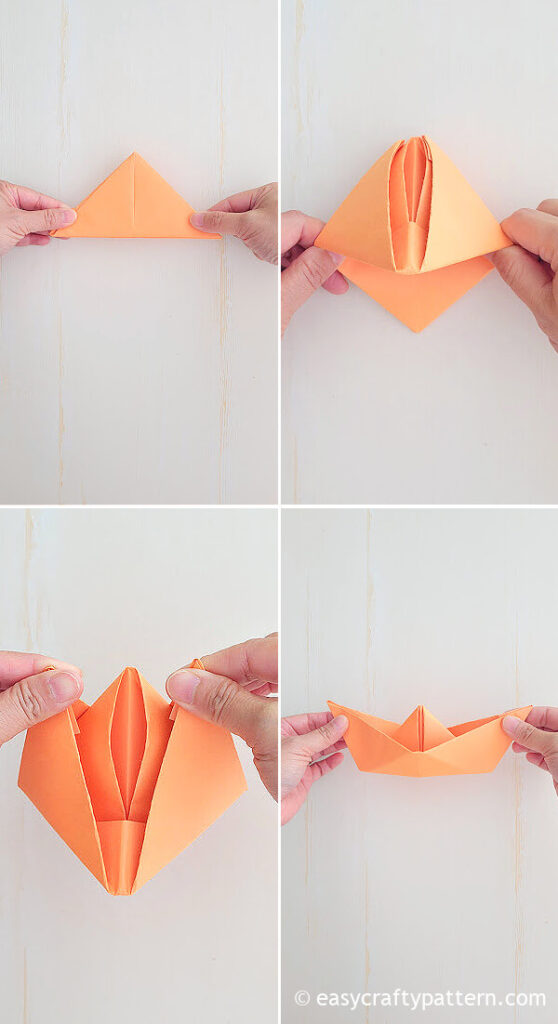
Put your thumb on the opening right in the centre by the folded line. Then pull both center lines in the opposite direction so you will have diamond shape paper.
Slowly pull both of the top parts outward in opposite directions. Adjust the paper boat to smoothen up the fold if needed.
Your paper boat is ready.
How To Play With The Paper Boat
A paper boat is floating in the water. That’s how I used to play with it. I had so much fun racing the paper boat on the bucket of water.
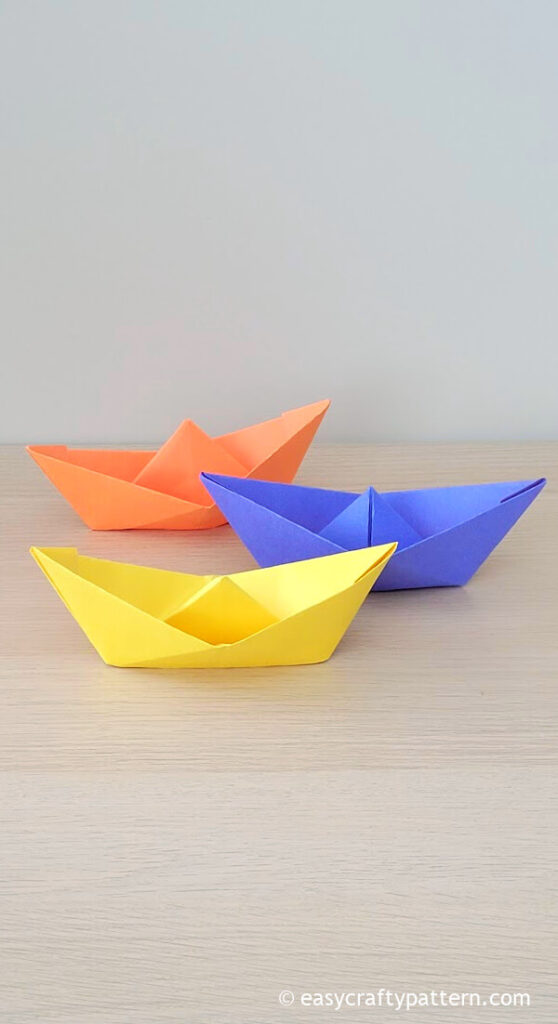
Because it is made of paper, it will float, but it is not waterproof. However, you can add clear tape or Mod Podge to seal the bottom of the boat to last longer.
Put the paper boat in a shoebox-sized plastic container with some small figurines. That sure will provide hours of fun.
If they like, let them decorate or doodle on their paper boat before putting it in the water.
More Easy Origami
Classic origami paper boat, quick and easy tutorial! #paperboat #papercanoe #origamiboat Share on XEasy Step-by-Step Origami Paper Boat Tutorial
How To Make An Easy Paper Boat
Quick and easy to make a paper boat, step-by-step tutorial with pictures. It is a simple origami project from just a piece of paper and lots of fun!
Materials
- A4 paper size or colourful crafting paper
Tools
- Pencil or marker (optional)
Instructions
- Prepare the paper you like. First, fold the paper half downward or lengthwise. Next, fold it again in half, then open it up.
- Fold two corners on the top to the middle so both corners will meet up in the center along the folded line and resemble a triangle.
- Fold up both rectangle shapes under the triangle. Put your thumb on the opening right in the centre by the folded line.
- Pull both thumbs in the opposite direction. Now the paper resembles a diamond shape folded paper.
- Press the paper flat. Fold the lower side upward, align it with the top, and do the same for the opposite side.
- Again, put your thumb on the opening right in the centre by the folded line. Then pull both center line in the opposite direction so you will have diamond shape paper.
- Slowly pull both of the top parts outward in opposite directions. Adjust the paper boat to smoothen up the fold if needed.
- Your paper boat is ready.
Notes
- See the step-by-step picture tutorial for more detail.
- Use smaller size rectangle paper to make a small size boat.
