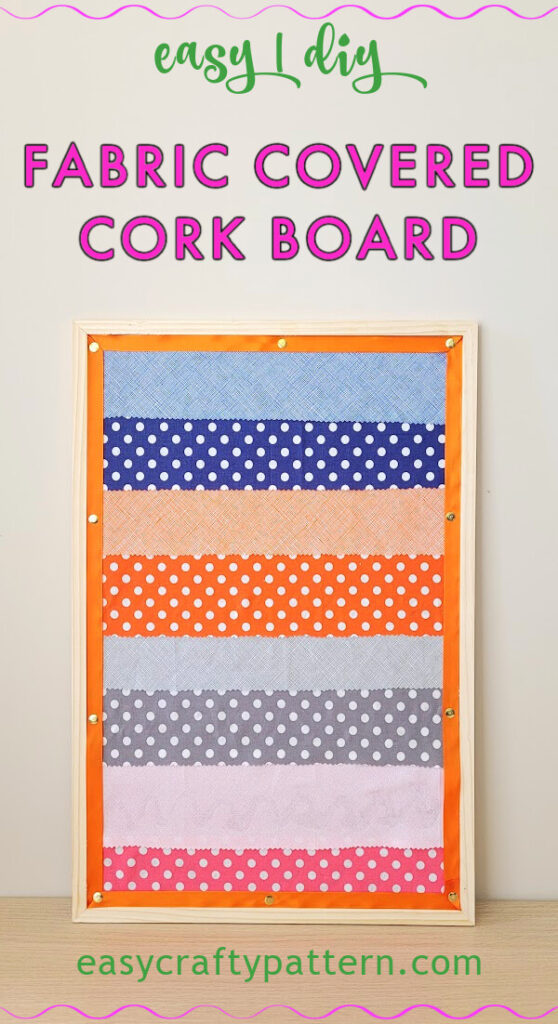
DIY Fabric Covered Cork Board
This easy makeover idea uses scrap fabric and ribbon to transform the plain cork board into something pretty, an easy craft project for the classroom or home office’s DIY bulletin board.
Cork Board Makeover
Comes in various sizes, the corkboard is a helpful addition to the classroom or office to showcase art projects or pin something important.
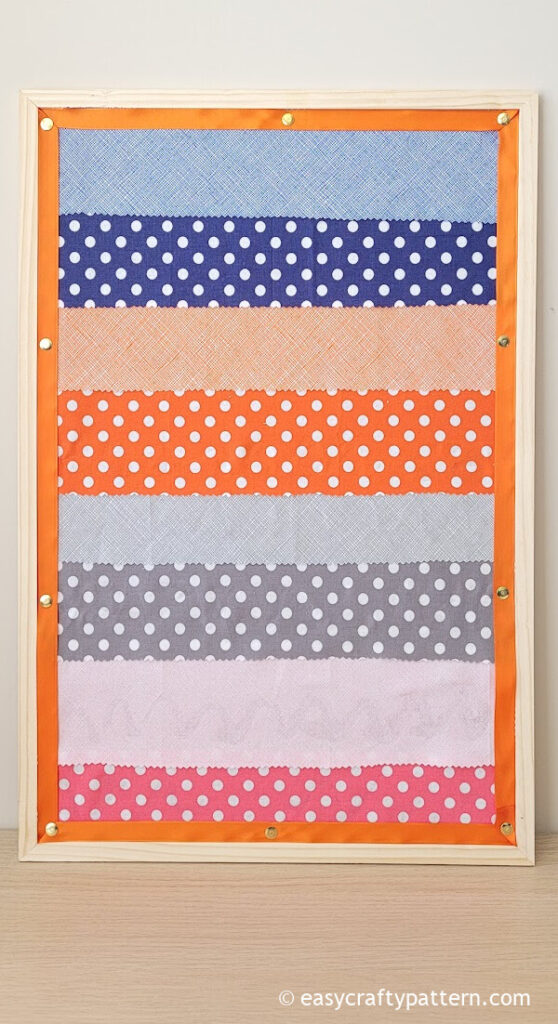
If you have some fabric scraps, it doesn’t have to be uniform in size or colour, then use these fabrics to cover the pinboard.
It can be in various sizes or mix-and-match prints and colours. Use any contrasting colour of ribbon for the edge.
I skip painting the frame, as it will take longer to finish the project. However, if you paint it first, wait until it dries up before covering the board with fabric.
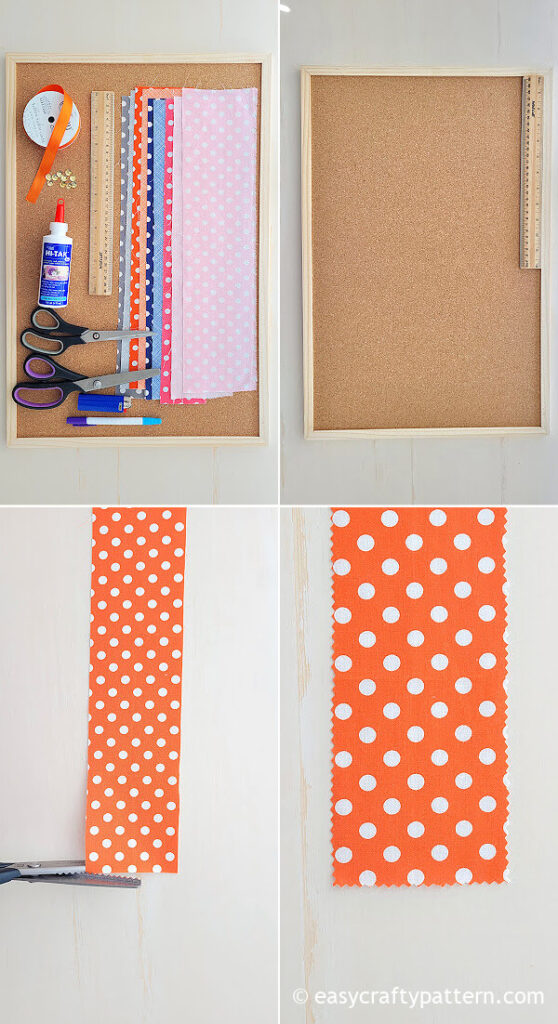
Fabric Corkboard Supplies
I use the 16″ x 24″ corkboard for this project. I also use satin ribbon and cotton quilt fabric. Also, you can use burlap, interior decor fabric or outdoor fabric.
You can use any fabric scraps available on hand, but the best fabric for a bulletin board is one that stays crisp with daily use thumbtack.
Tacky glue is excellent for this project as it is non-toxic, easy to apply, fast setting, and dries clear. In addition, the adhesive is on the tube, so you don’t need a brush or popsicle stick to apply the glue.
- Scrap fabric
- Satin or grosgrain ribbon
- Thumbtack or push pin
- Tacky glue
- Scissors
- Ruler
- Pinking Shears
- Lighter
- Disappearing fabric marker
Cork Board Makeover With Fabric Tutorial
Measure the corkboard inside the frame to determine how much fabric you need.
Since you will use fabric scraps, it doesn’t have to be exact measurements like the board.
The fabric will overlap on top of each other.
Trim each fabric piece with pinking shears to prevent fraying.
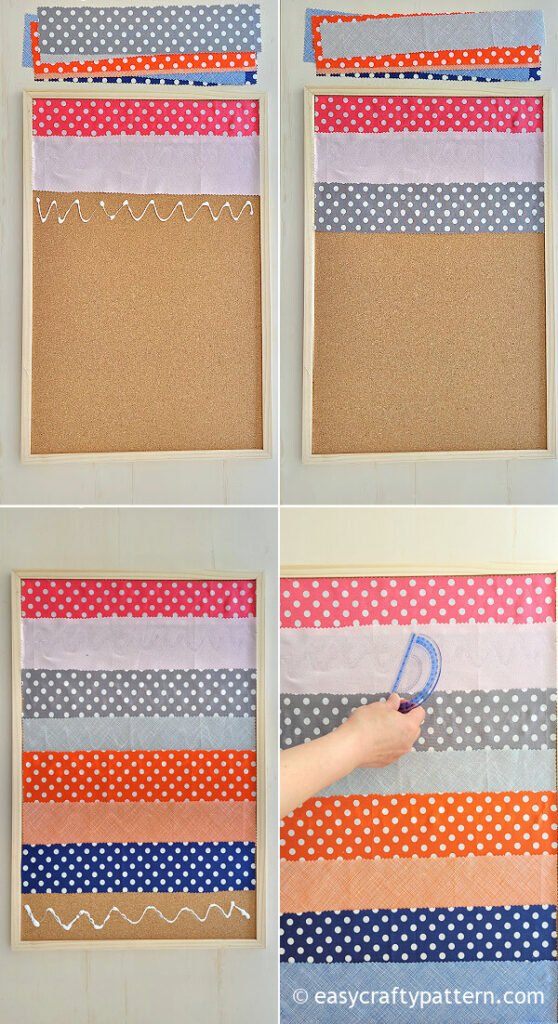
Apply glue on the corkboard, then lay the fabric on it. You can apply glue around the fabric edge too.
Repeat the process, so you will have each fabric glued overlapping on the board.
Use a little ruler to spread the glue underneath the fabric.
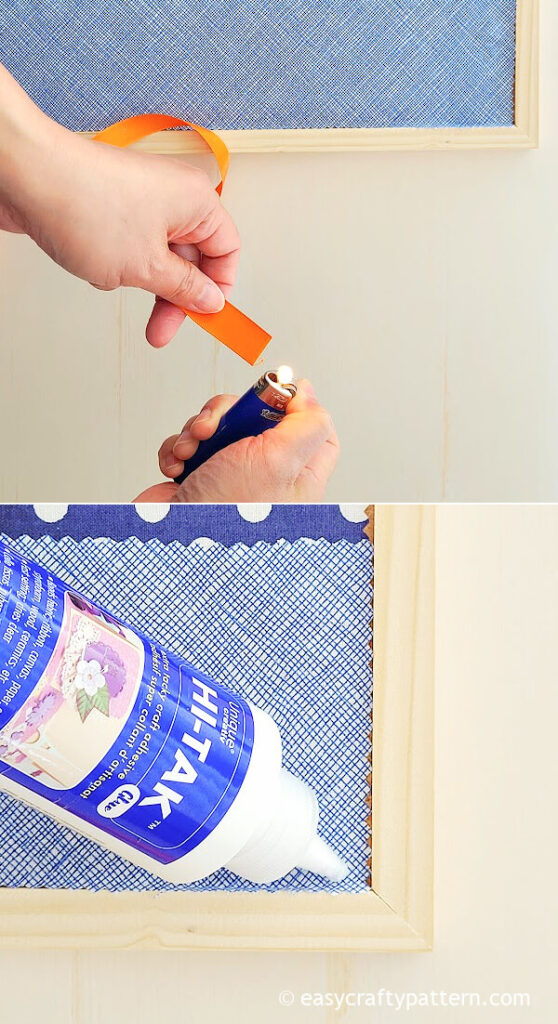
Use the lighter to seal the ribbon’s frayed edge.
Apply glue on the corner of the board, then attach the ribbon.
You can apply glue all around the edge of the corkboard, then attach the ribbon and stick the thumbtack or pushpin on the ribbon with the same interval between each other.
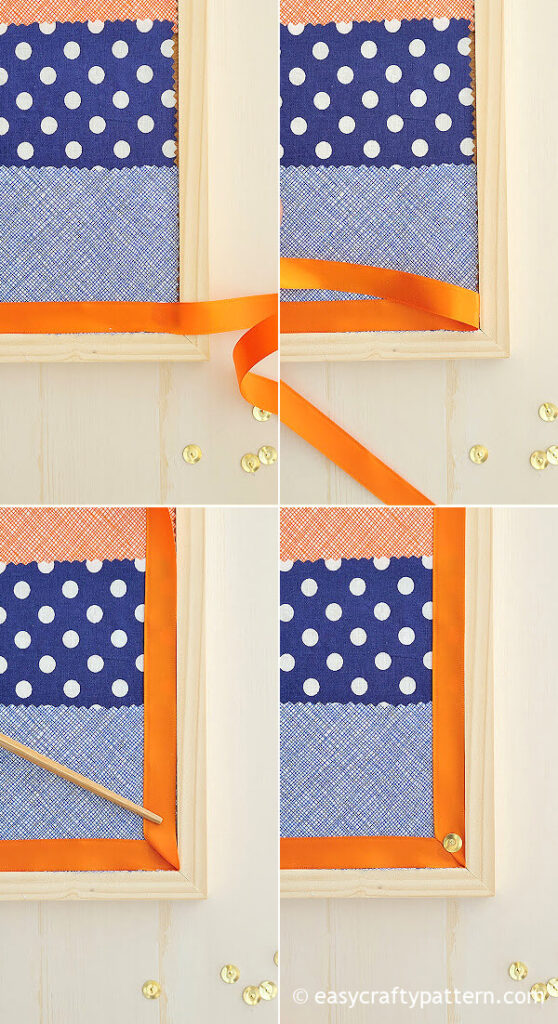
Fold the ribbon in the corner to resemble a mitered line. Then, continue attaching the ribbon around the edge of the corkboard inside the frame.
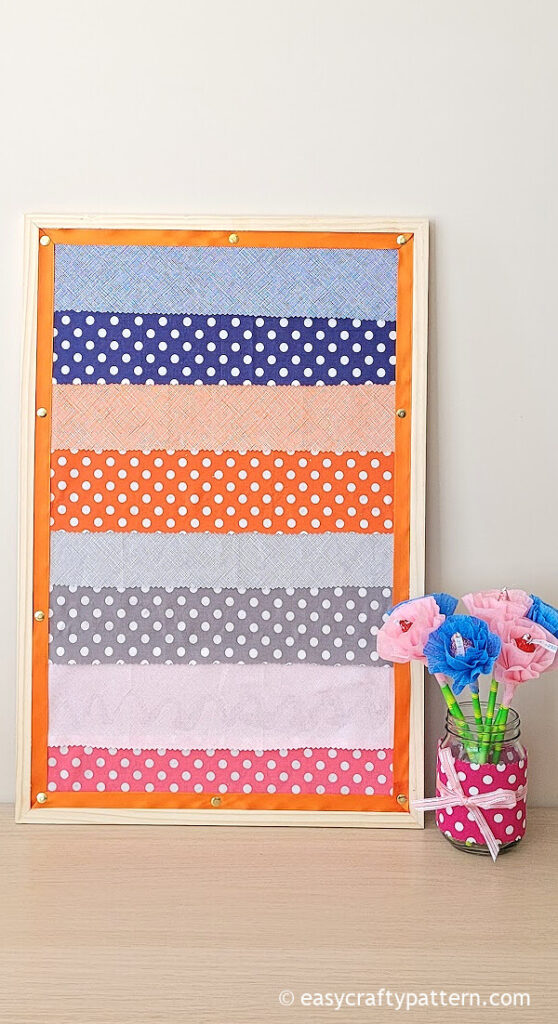
All done, your DIY corkboard makeover is ready to use.
Cover the bulletin board with fabric scraps for easy makeover ideas. #bulletinboard #pinboardideas Share on XThis fabric-covered pin board is perfect for Mother’s Day gift idea. Pair it with the fabric-wrapped mason jar to put a chocolate bouquet on it.
For more personalized Mother’s Day gift ideas, these handmade cloth napkins are beautiful for a gift.
Use your favourite prints and colours, or match them with the house decor theme. Cloth napkins are also great for everyday use.
Fabric Bulletin Board Ideas From Plain To Pretty


DIY Fabric Covered Cork Board
This easy makeover idea uses scrap fabric and ribbon to transform the plain corkboard into something pretty, an easy craft project for the classroom or home office's DIY bulletin board.
Materials
- Scrap fabric
- Satin or grosgrain ribbon
- Thumbtack or push pin
- Tacky glue
Tools
- Scissors
- Ruler
- Pinking Shears
- Lighter
- Disappearing fabric marker
Instructions
- Measure the corkboard inside the frame to determine how much fabric you need. Since you will use fabric scraps, it doesn't have to be exact measurements like the board. The fabric will overlap on top of each other.
- Trim each fabric piece with pinking shears to prevent fraying.
- Apply glue on the corkboard, then lay the fabric on it. You can apply glue around the fabric edge too.
- Repeat the process, so you will have each fabric glued overlapping on the board.
- Use a little ruler to spread the glue underneath the fabric.
- Use the lighter to seal the ribbon's frayed edge.
- Apply glue on the corner of the board, then attach the ribbon.
- You can apply glue all around the edge of the corkboard, then attach the ribbon and stick the thumbtack or pushpin on the ribbon with the same interval between each other.
- Fold the ribbon in the corner to resemble a mitered line. Then, continue attaching the ribbon around the edge of the corkboard inside the frame.
- All done, your DIY corkboard makeover is ready to use.