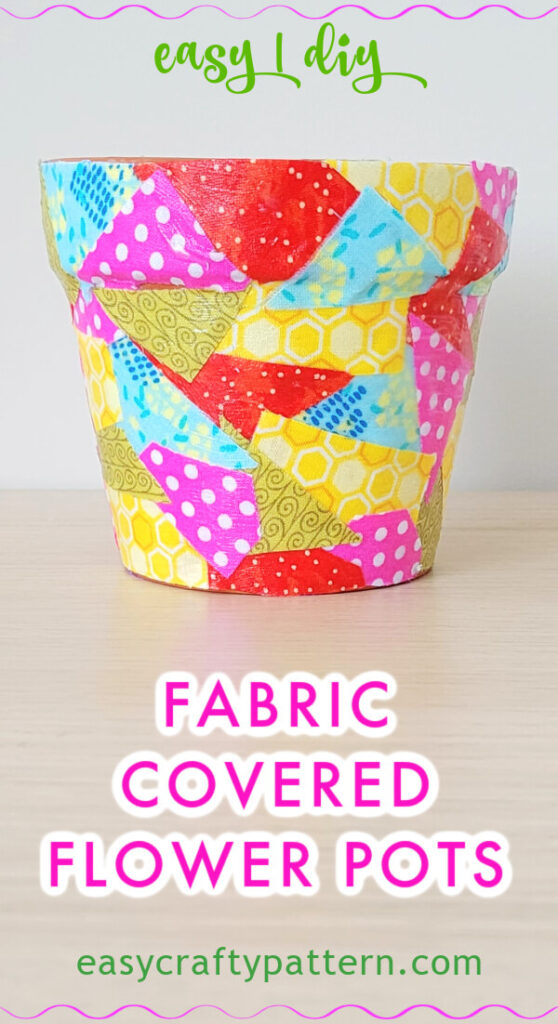
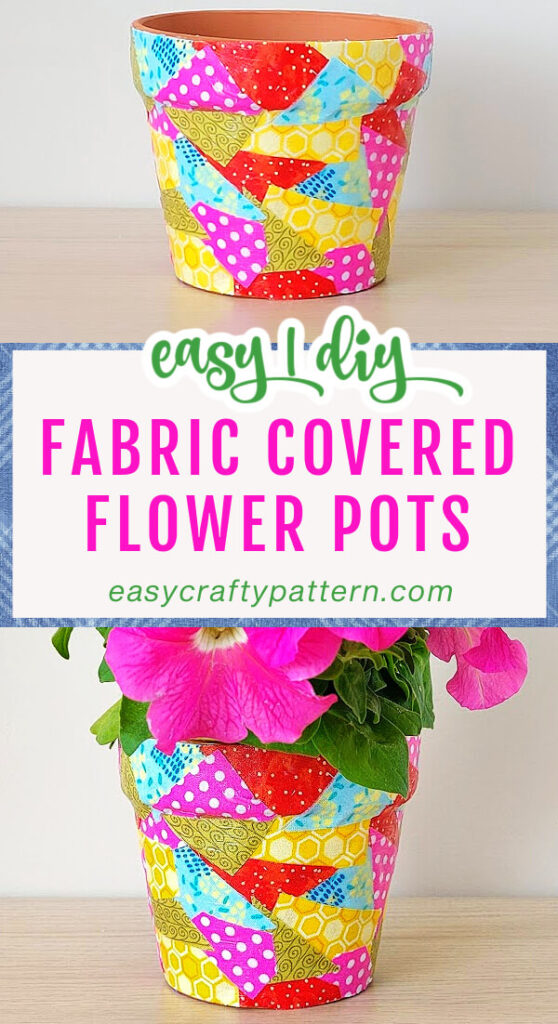
Fabric-Covered Flower Pot Tutorial
Easy decoupage craft using colourful fabric scraps and terra cotta planter to turn into a simple mosaic fabric-covered flower pot and splash colour into the outdoor space.
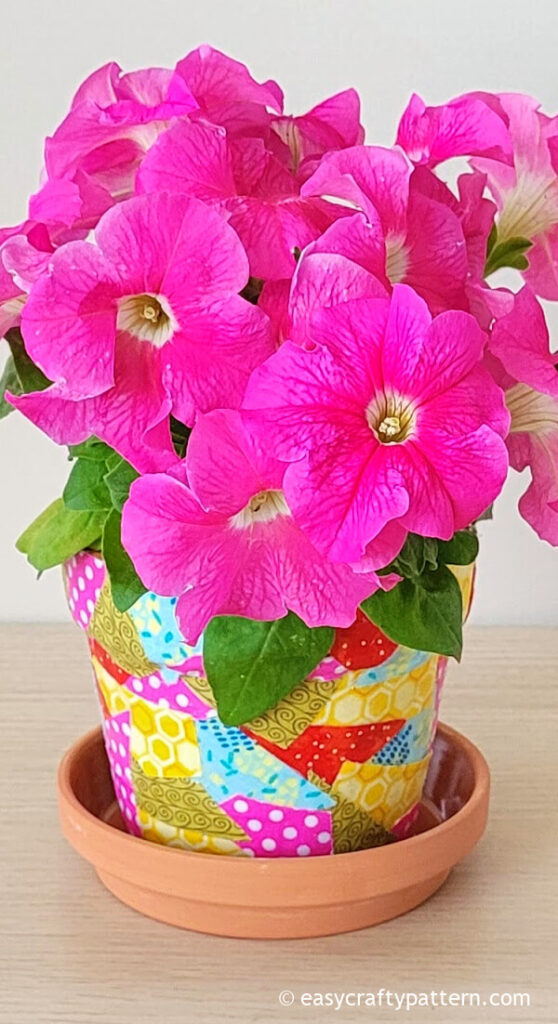
Decoupage Flower Pots With Fabric
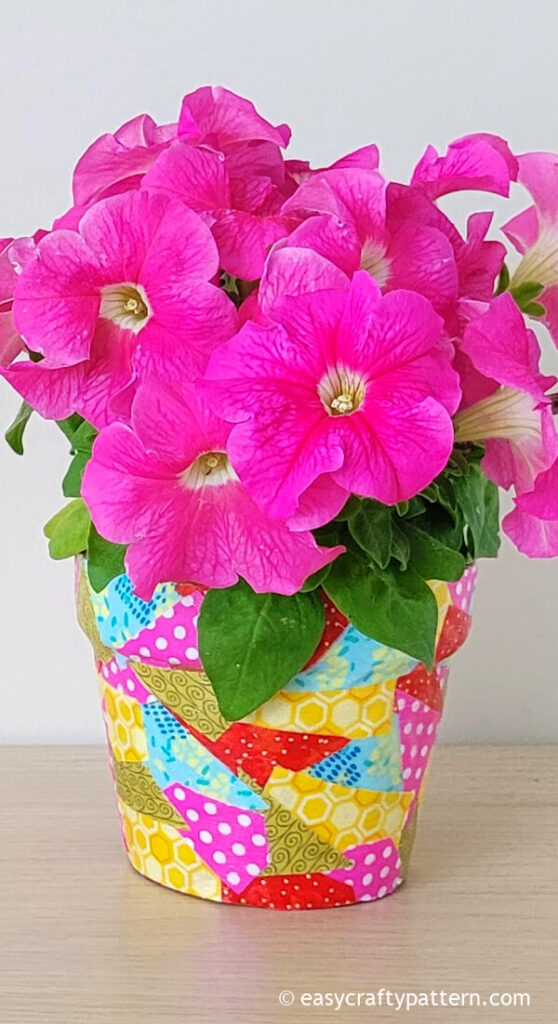
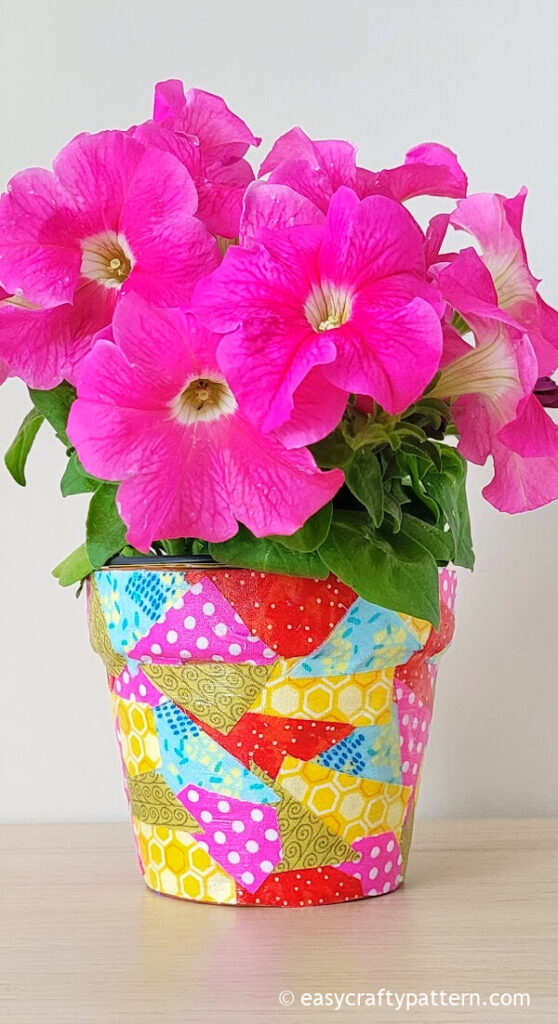
The flower planter wrapped with fabric is perfect for planting flowers or any other plant, like succulents. Put the decoupage planter on the patio table for a conversation piece or focal point of the outdoor living space.
You can also use it as a pencil holder for a DIY office or study room makeover idea. Use the fabric print to match the decorating theme so that it can be the highlight of the decorated room. It is a simple but beautiful finished project.
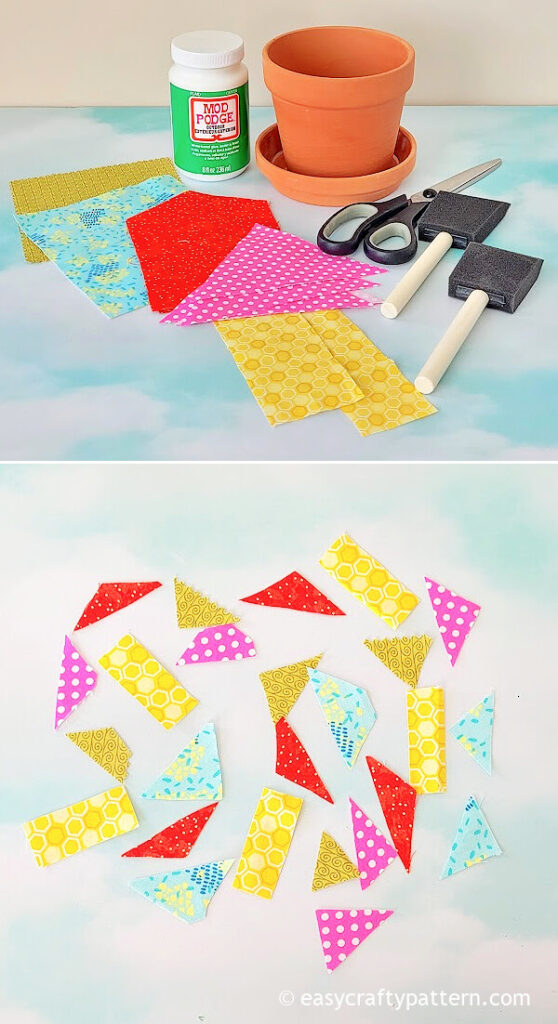
Supply To Make Fabric-Covered Terra Cotta Pots,
If fabric scraps are unavailable, you can use an old shirt that is not wearable anymore, so it becomes an upcycle project. I used quilt cotton from various projects for sewing tutorials like this Easter Bunny Treat Bag.
If using a used clay pot, wash the planter, clean it of debris or dirt from plant roots, and leave it dry before the project starts.
Use the clay pot sealer for the inside surface if you plan to use it for planting.
- Clay pot of any size you need
- Mod Podge for outdoor use
- Fabric scraps
- Foam brush
- Scissors
Decoupage Clay Pot With Fabric Tutorial
Cut up the fabric scraps into small pieces with random shapes. They don’t have to be uniform shapes.
Use the foam brush, and apply the mod podge on the outside surface of the clay pot. Apply it to a small section.
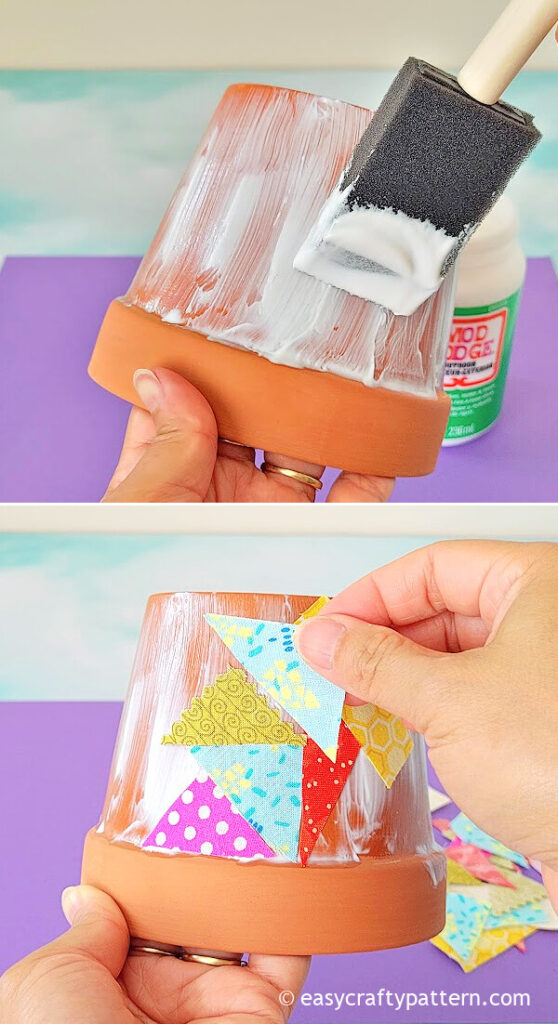
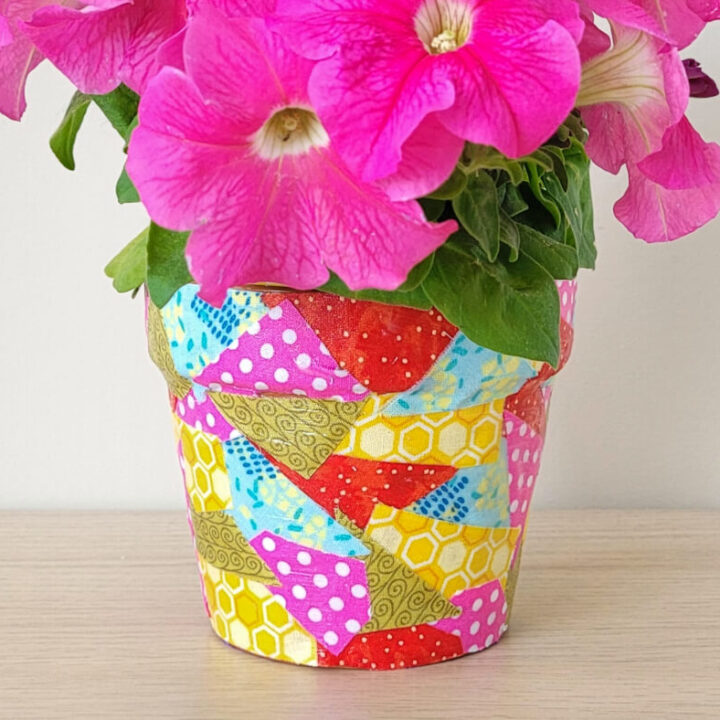
Attach the fabric piece one by one by creating a mosaic. It is okay to overlap the fabric between each other.
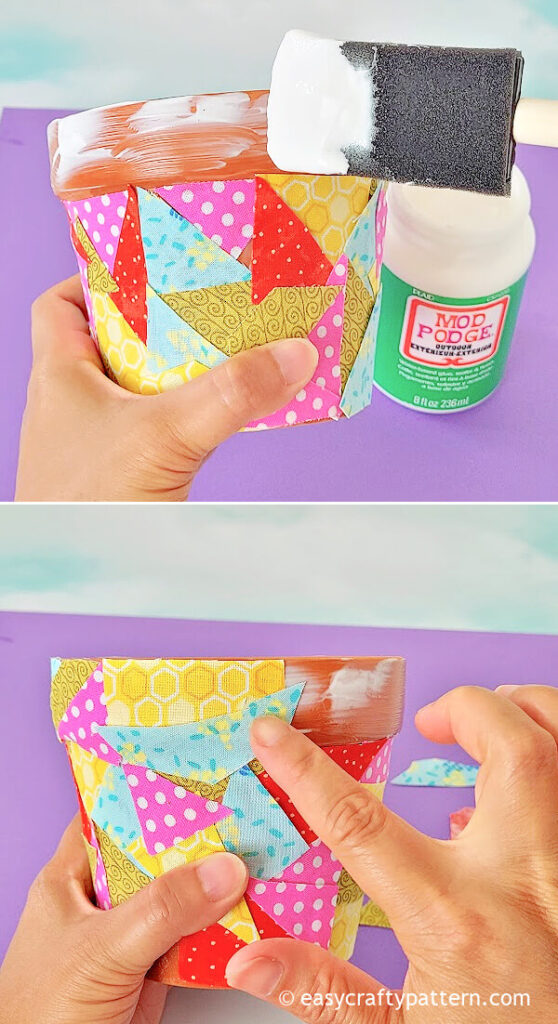
Continue applying the mod podge on the next section and attaching the fabric pieces until the whole surface is covered with fabric.

Leave the decoupage clay pots to dry up for 30 minutes to an hour. It won’t completely dry.
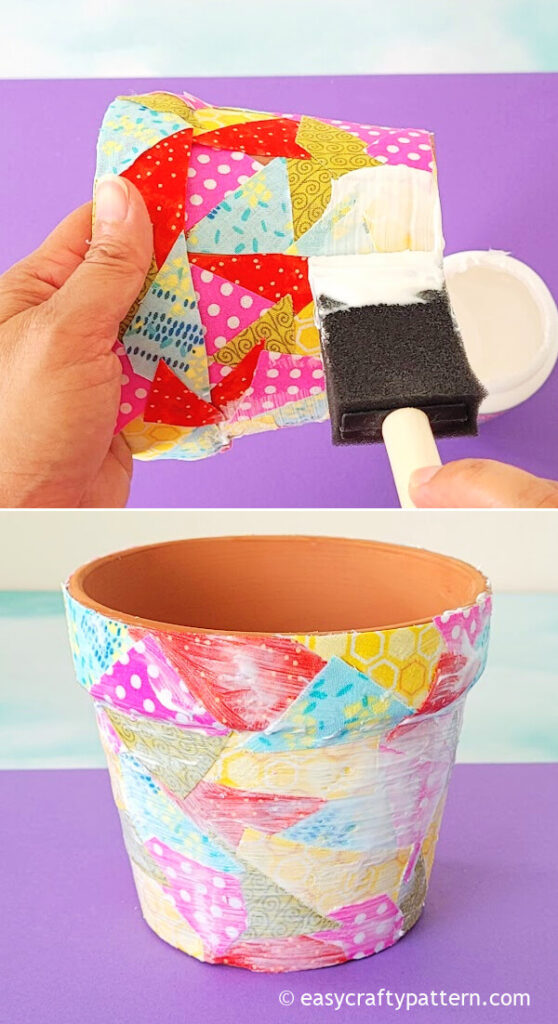
Apply the mod podge over the decoupage terra cotta pot to seal it. You can apply two or three more coats over it and leave it dry between coats for 30 minutes to an hour.
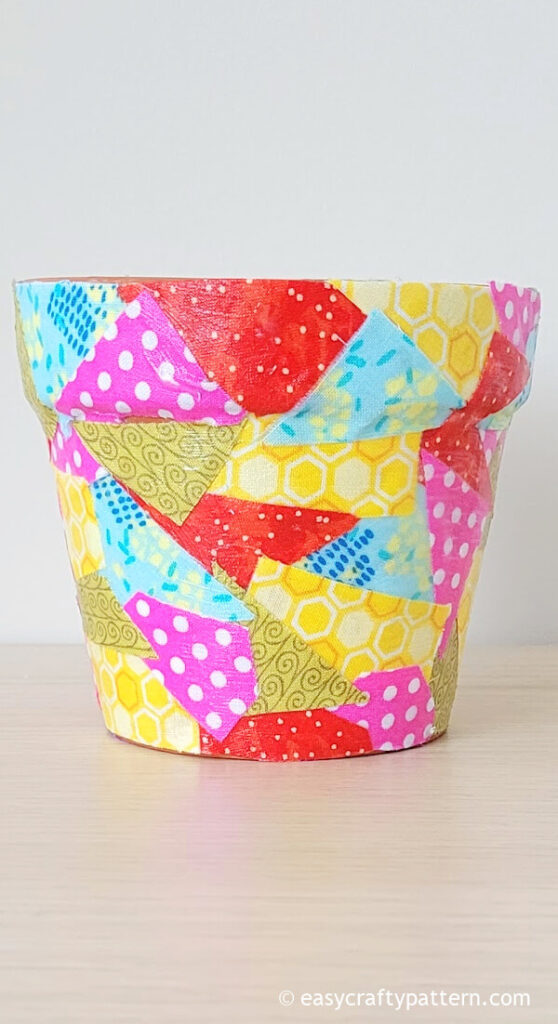
Leave the planter to dry overnight. Leave it for more hours if you find it still a bit sticky after 24 hours. It does need a curing time of up to four weeks to dry completely.
Sealing Terra Cotta Pot
Seal the inside terra cotta pot first with the clay pot sealer to prevent water from seeping through the outside surface.
Even though using mod podge for outdoor, the decoupage flower pot is for a protected area like a covered porch away from outdoor elements like rain.
If the mod podge layer wears off, you can apply another coat to seal it.
Add a splash of colour to the terra cotta pot by creating a fabric mosaic. #decoupage #decoratingplanter Share on XMore DIY projects for summer garden
DIY Flower Planter By Decoupage Terra Cotta Pots With Fabric
Fabric-Covered Flower Pot
Easy decoupage craft using colourful fabric scraps and terra cotta planter to turn into a simple mosaic fabric-covered flower pot and splash colour into the outdoor space.
Materials
- Clay pot of any size you need
- Mod Podge for outdoor use
- Fabric scraps
Tools
- Foam brush
- Scissors
Instructions
- Cut up the fabric scraps into small pieces with random shapes. They don't have to be uniform shapes.
- Use the foam brush, and apply the mod podge on the outside surface of the clay pot. Apply it to a small section.
- Attach the fabric piece one by one by creating a mosaic. It is okay to overlap the fabric between each other.
- Continue applying the mod podge on the next section and attaching the fabric pieces until the whole surface is covered with fabric.
- Leave the decoupage clay pots to dry up for 30 minutes to an hour. It won't completely dry.
- Apply the mod podge over the decoupage terra cotta pot to seal it. You can apply two or three more coats over it and leave it dry between coats for 30 minutes to an hour.
- Leave the planter to dry overnight. Leave it for more hours if you find it still a bit sticky after 24 hours. It does need a curing time of up to four weeks to dry completely.
Notes
The active time does not include the drying time.