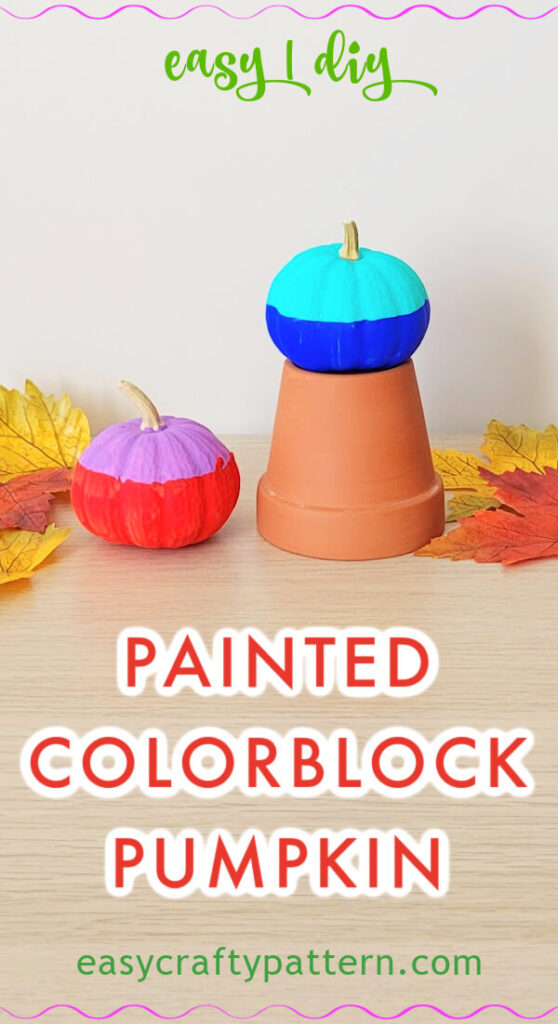
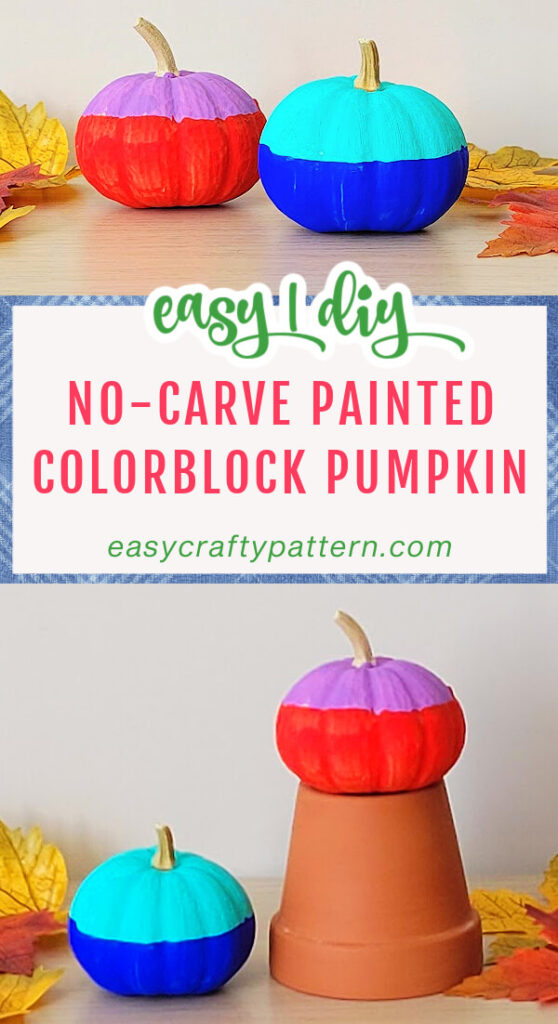
Easy Color Block Pumpkin
Decorating with mini pumpkins for the fall season is fun and easy to do by using different paint colours and creating the color block pumpkin.
DIY Color Block Pumpkin
There are many options to create a centrepiece for the tabletop during the fall season. Painted mini pumpkins are an excellent option for this purpose.
Painting the pumpkin is much easier than carving it. You can create the color block using two or multiple paint colours.
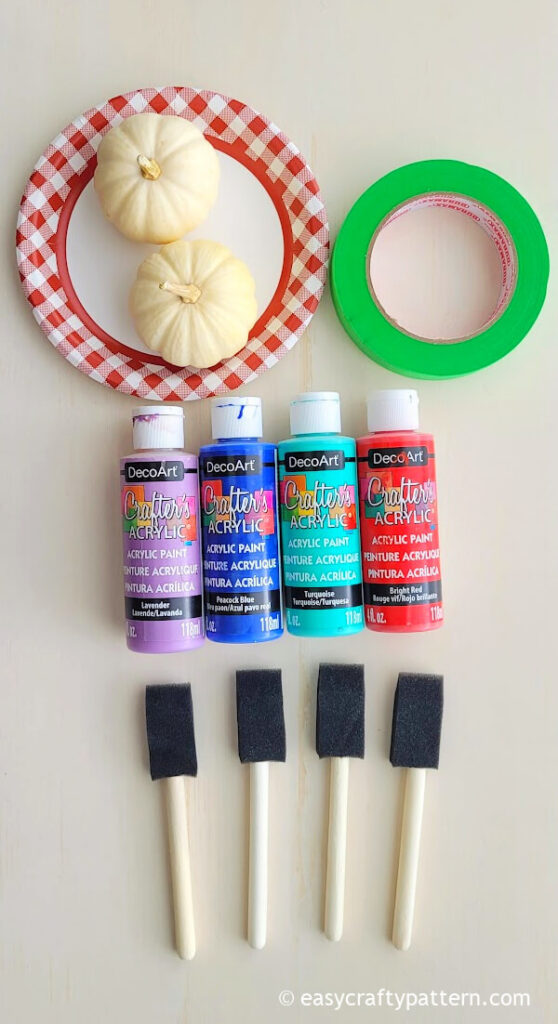
Supply To Make Painted Pumpkin
Any size pumpkins work great for this project. The larger pumpkin would need more paint to cover the surface.
Use acrylic paint or spray paint. The foam brush makes applying paint on the pumpkin much easier than the paintbrush.
- Mini pumpkins or any size pumpkins
- Acrylic paint, any colour. I use red, blue, turquoise, and purple.
- Foam brush
- Painter tape (optional)
Painted Color Block Pumpkin Tutorial
Clean the pumpkin’s surface from dirt using a paper towel or a dry towel.
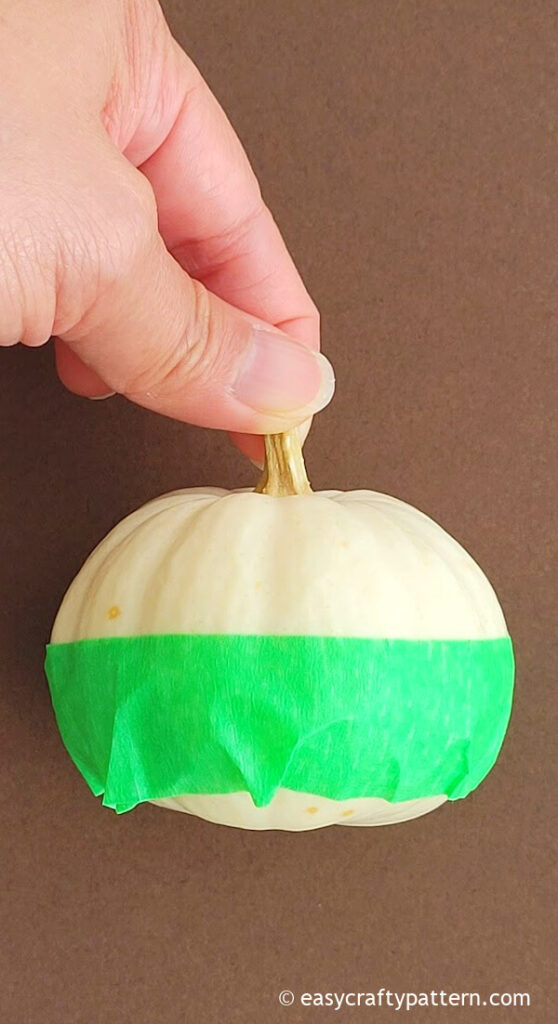
Wrap the pumpkin with the painter’s tape around the center circumference.
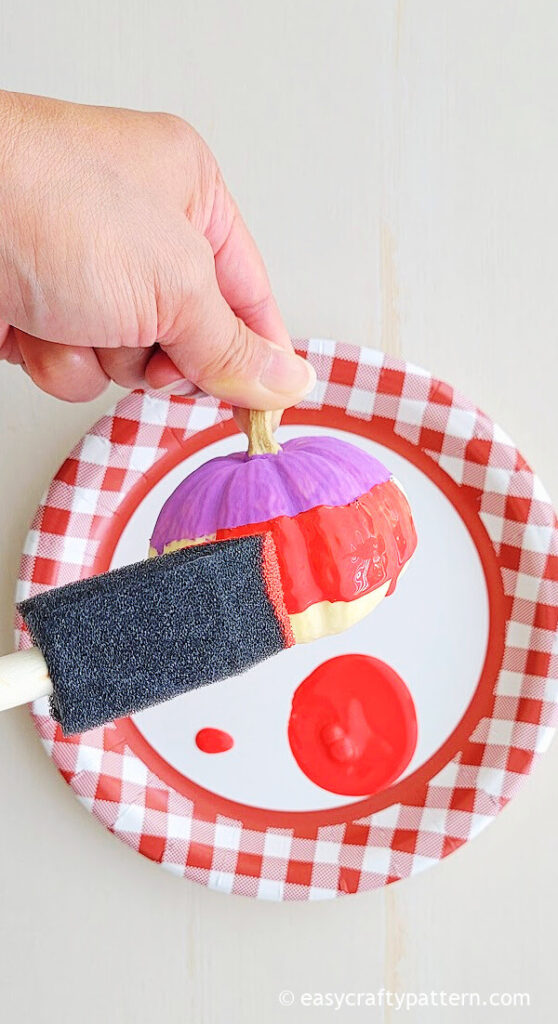
Apply a coat of paint around the top part of the pumpkin.
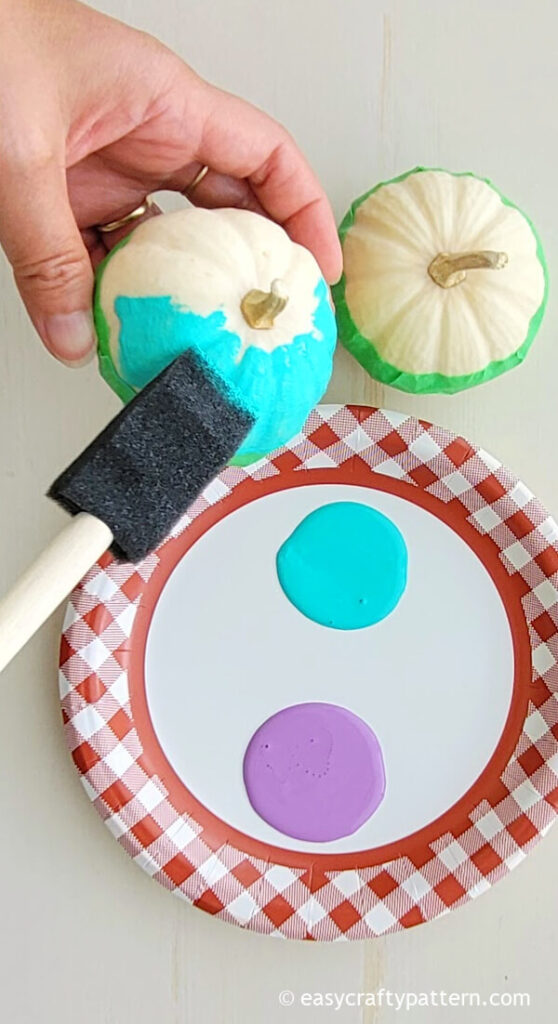
Let the paint dry. I let it dry for about 20 minutes.

You can apply several coats of paint. Just make sure the paint is dry before adding another coat.
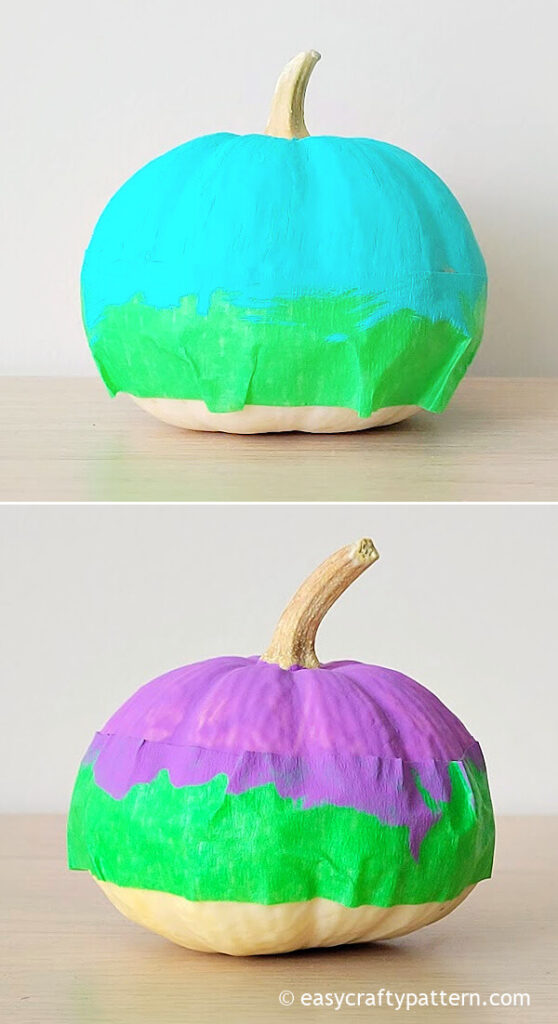
Remove the painter’s tape carefully.
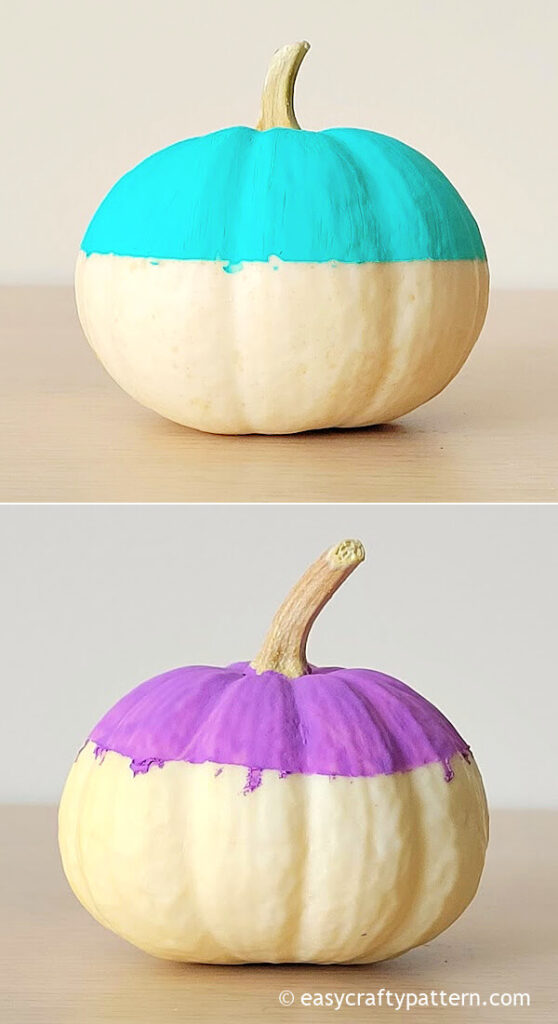
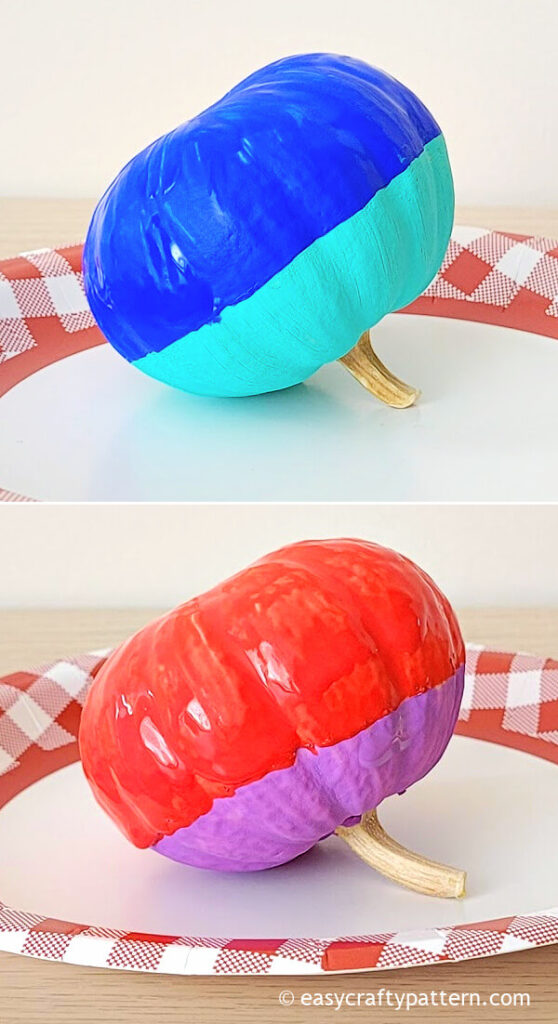
Apply a different paint color on the other side of the pumpkin.
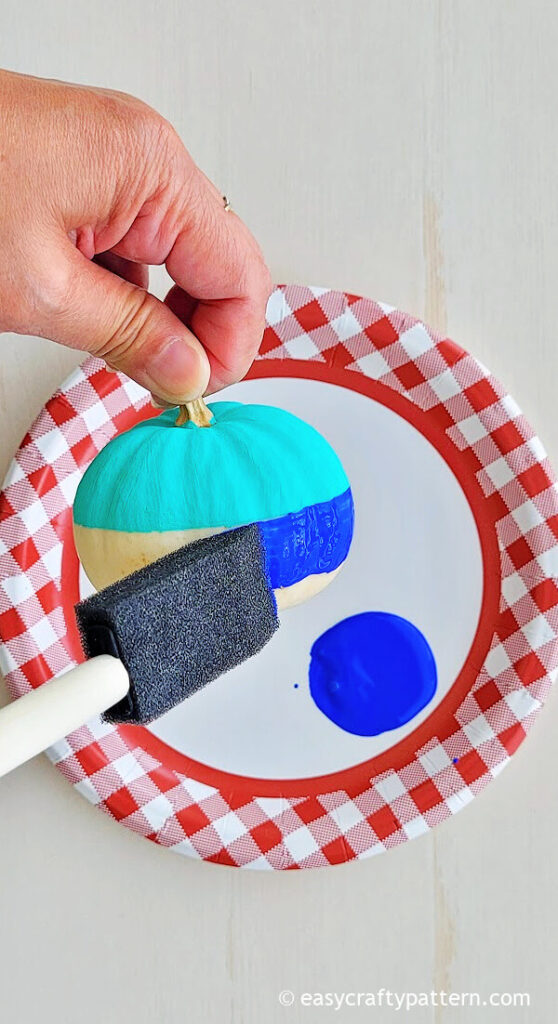
Put the pumpkin upside down by positioning it on the paper plate or something that can hold it in the same position until the new paint dries.
Apply more coats of paint if needed.
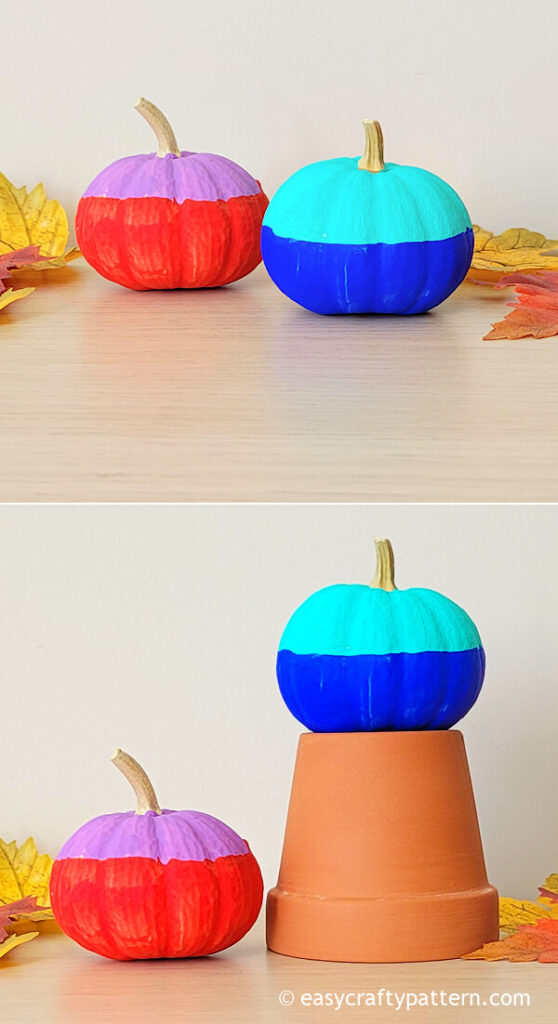
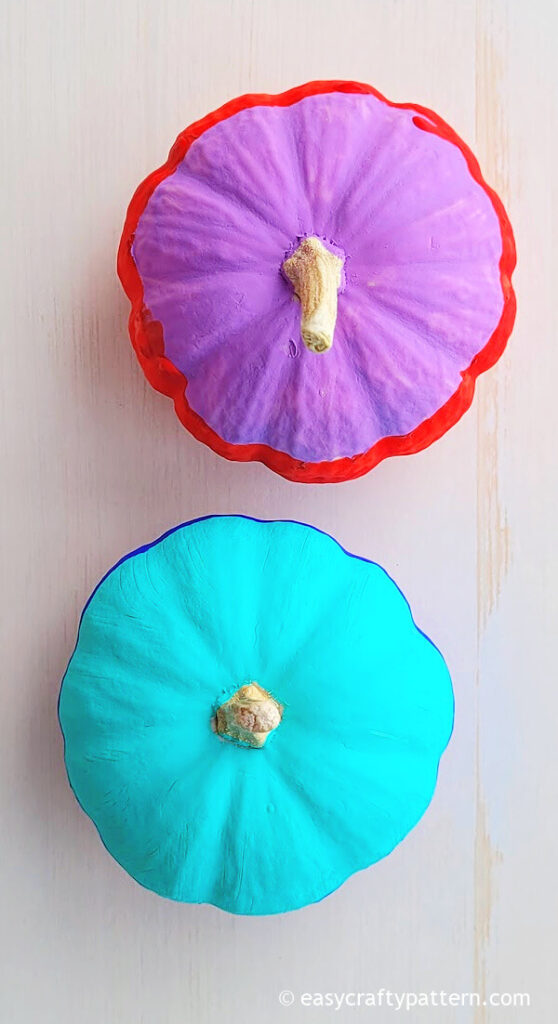
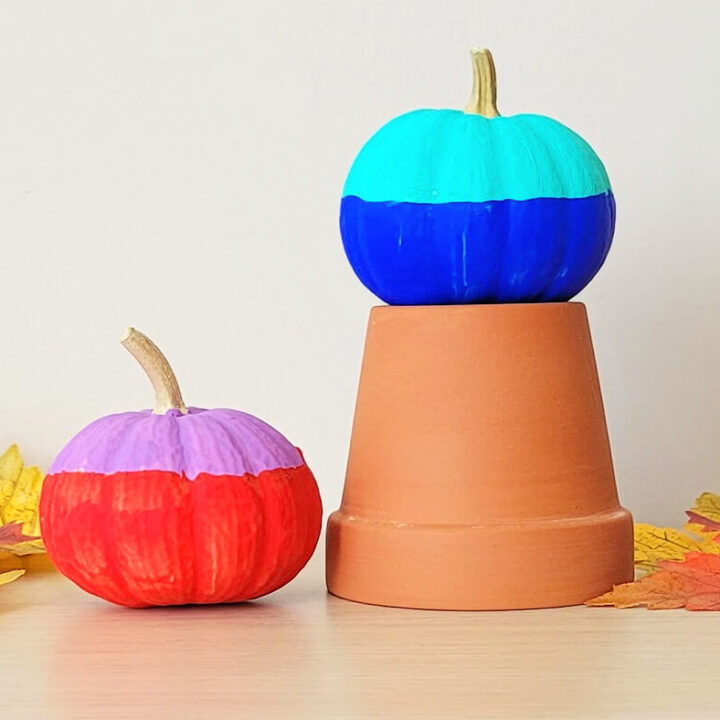
I keep the pumpkin stem on its original color, but certainly, you can paint it with a different color.
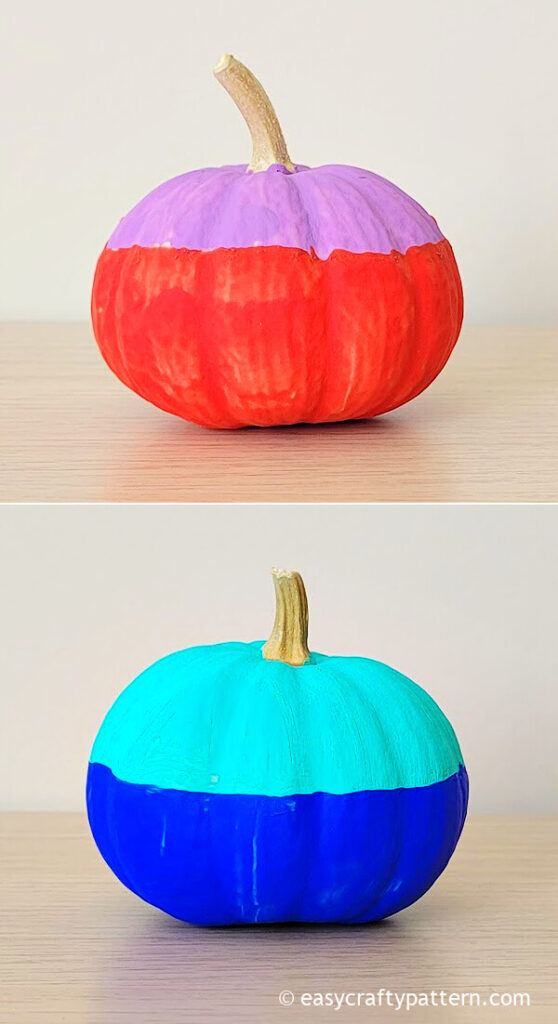
Gather more different sizes and shape pumpkins, then paint them with mix-and-match colors for a more fun decor theme.
The blue pumpkin and this blue treat bag are great for the teal Halloween idea.
Painted pumpkin is an easy no-carve pumpkin activity by creating the color block theme decorating idea. #colorblock #minipumpkin #fallseason Share on XMore easy no-carve pumpkin ideas
Fun And Easy Color Block Pumpkin For Fall Season Decor
Easy Color Block Pumpkin Idea
Decorating with mini pumpkins for the fall season is fun and easy to do by using different paint colours and creating the color block pumpkin.
Materials
- Mini pumpkins or any size pumpkins
- Acrylic paint, any colour
Tools
- Foam brush
- Painter tape
Instructions
- Clean the pumpkin's surface from dirt using a paper towel or a dry towel.
- Wrap the pumpkin with the painter's tape around the center circumference.
- Apply a coat of paint around the top part of the pumpkin.
- Let the paint dry. I let it dry for about 20 minutes.
- You can apply several coats of paint. Just make sure the paint is dry before adding another coat.
- Remove the painter's tape carefully.
- Apply a different paint color on the other side of the pumpkin.
- Put the pumpkin upside down by positioning it on the paper plate or something that can hold it in the same position until the new paint dries.
- Apply more coats of paint if needed.
Notes
There is an additional time of 40 minutes to dry each coat of paint.